| 1 |
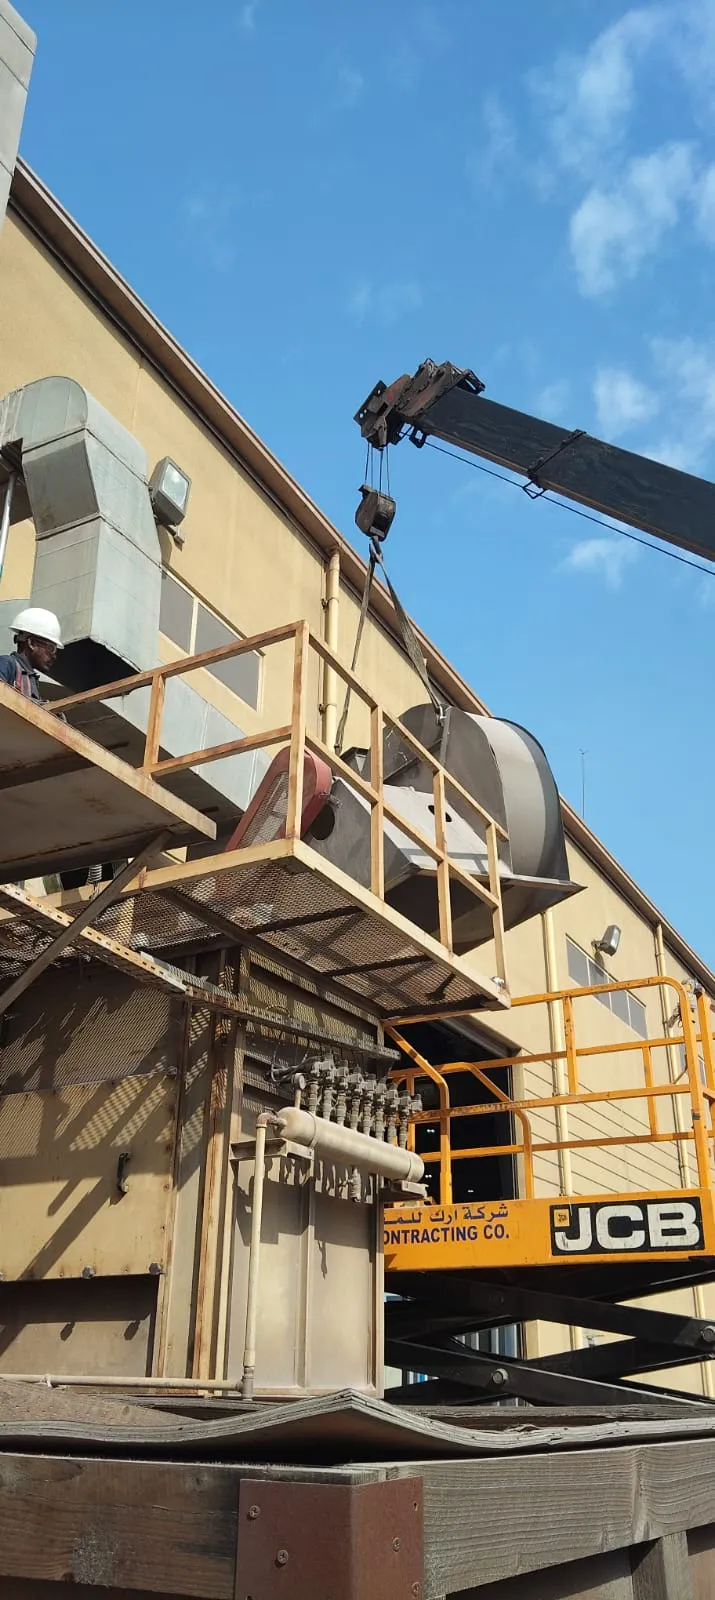
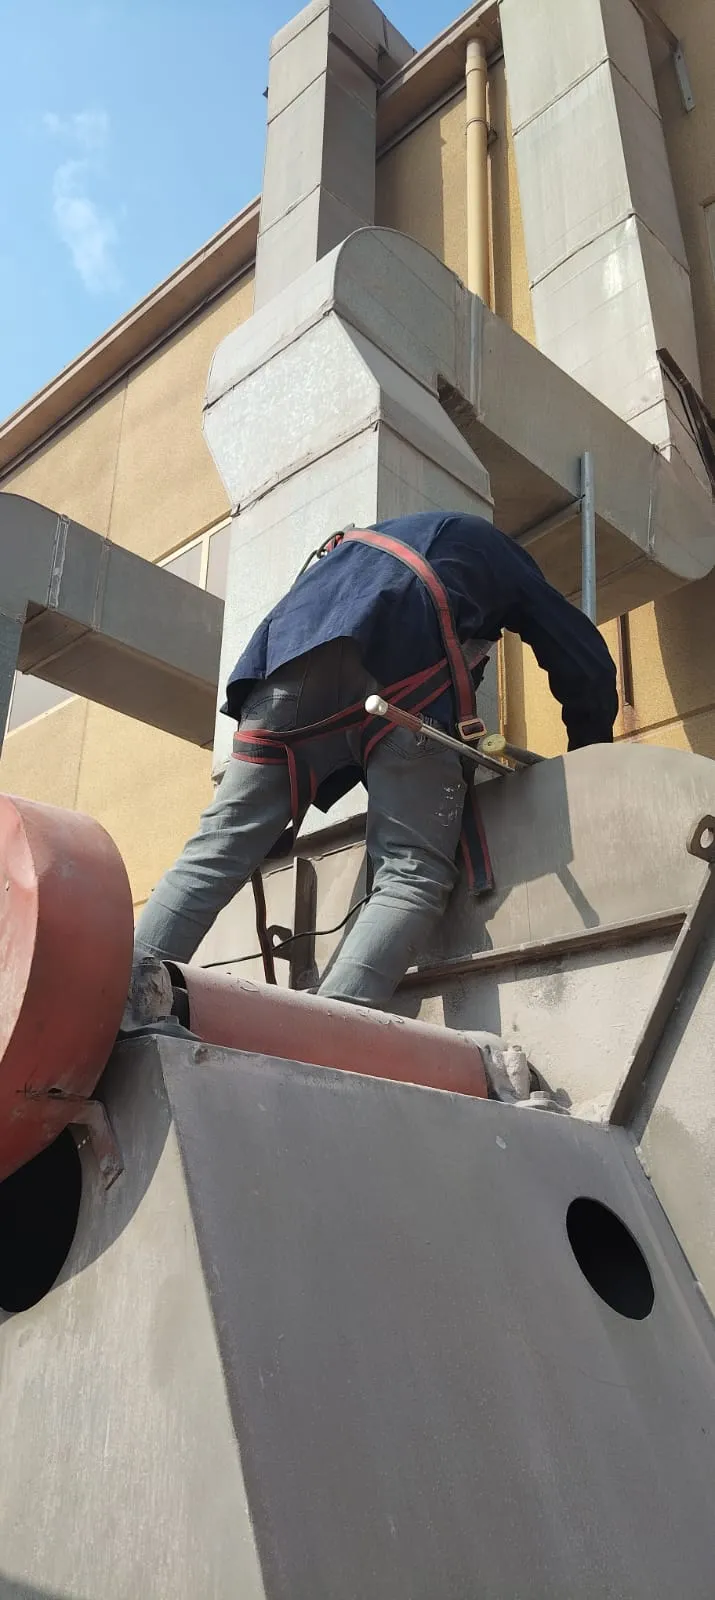
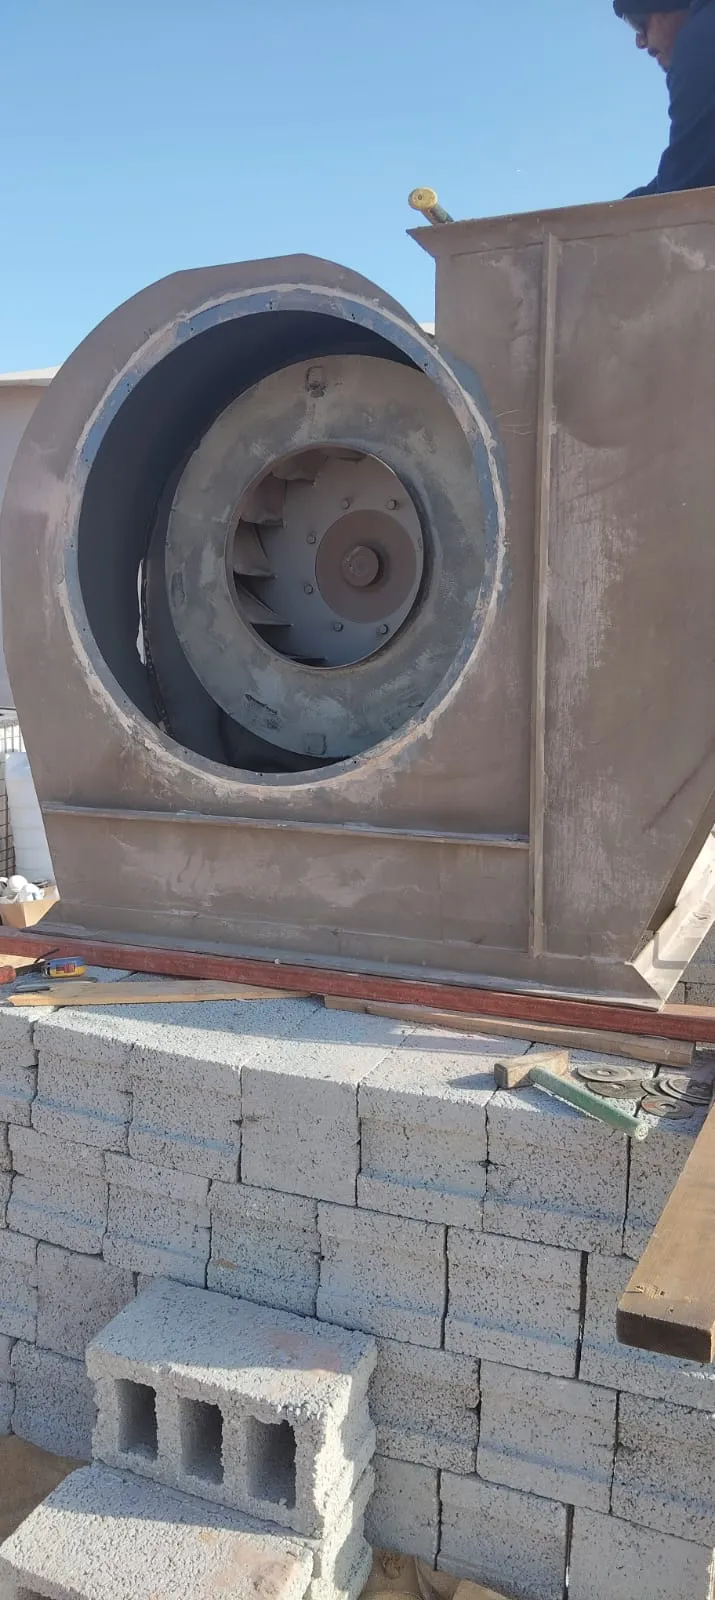
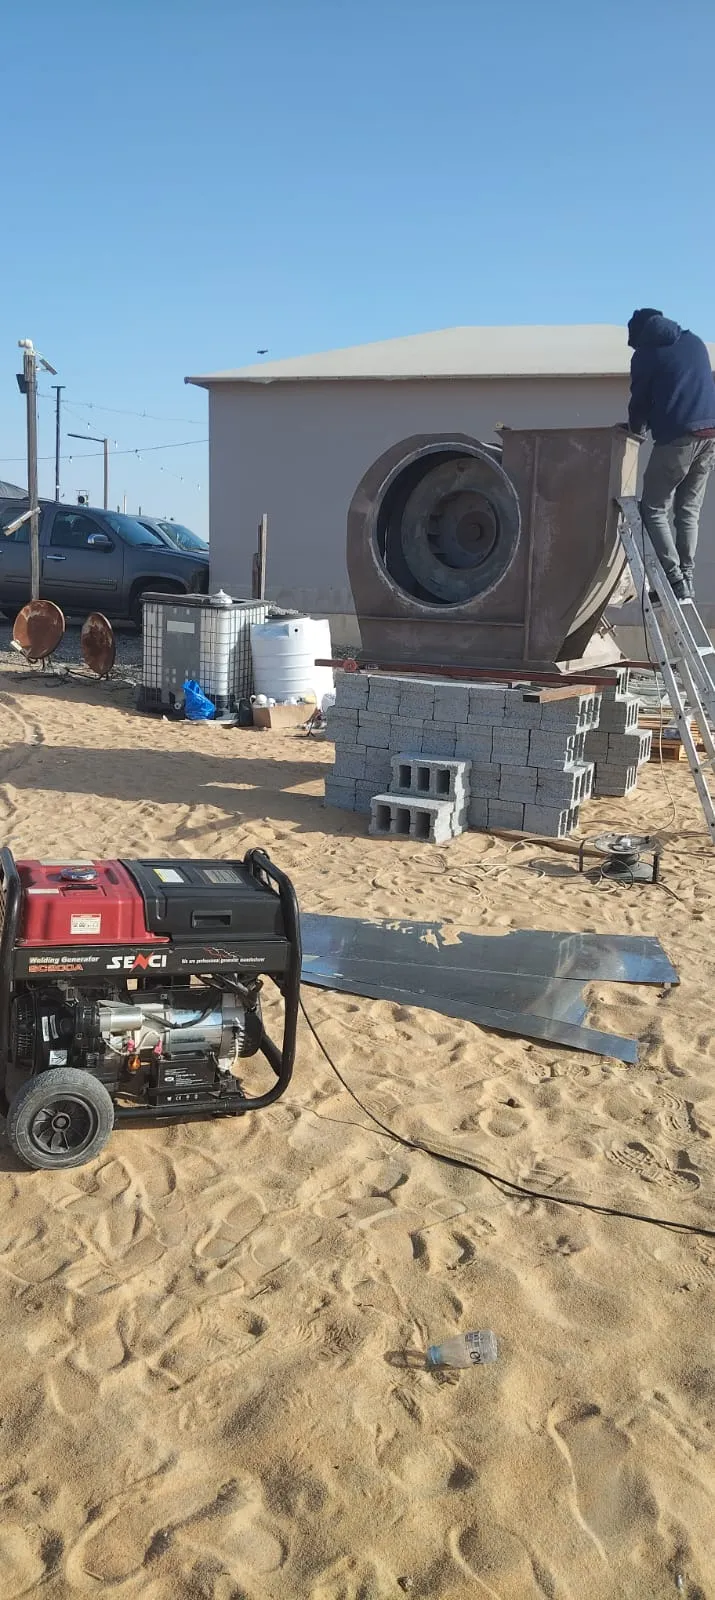
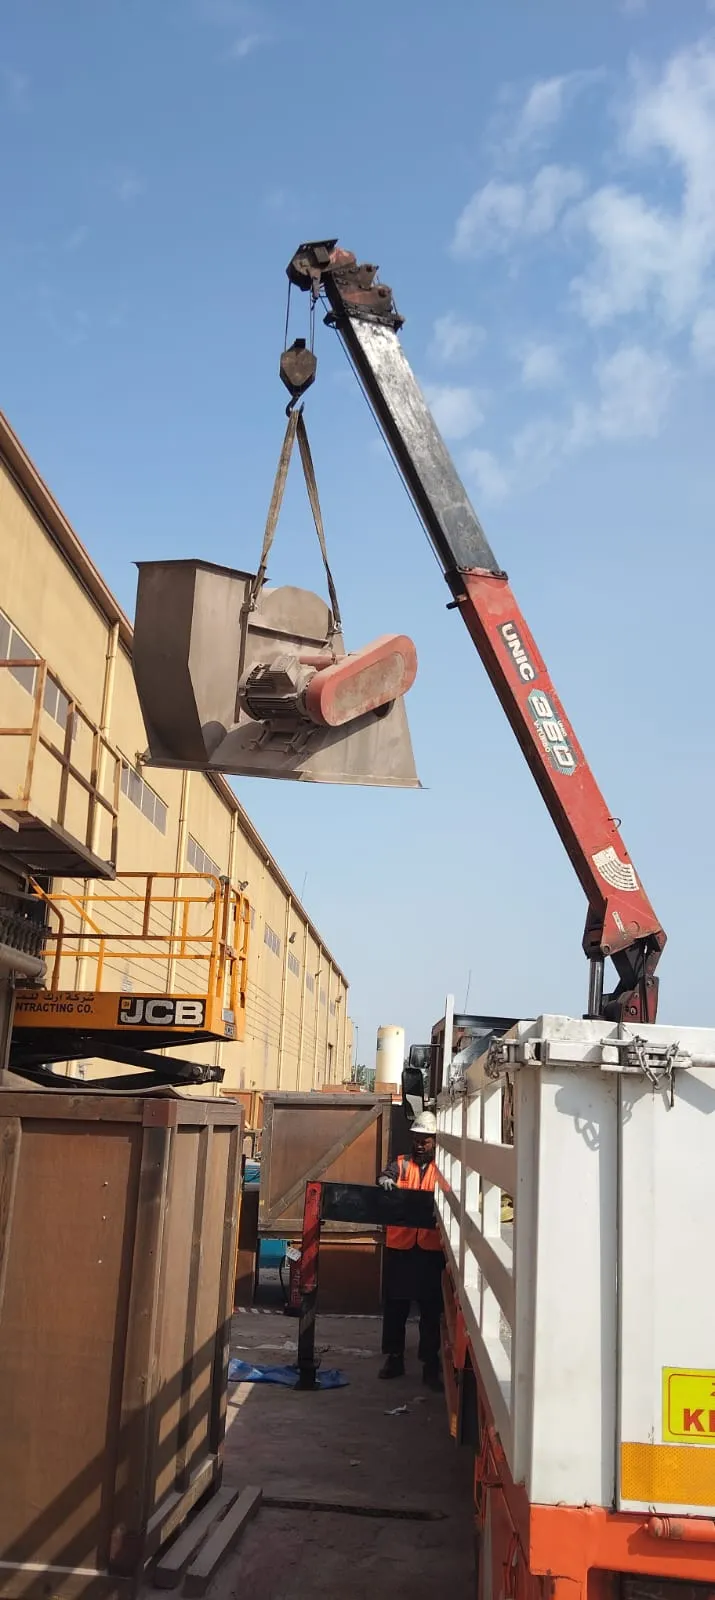
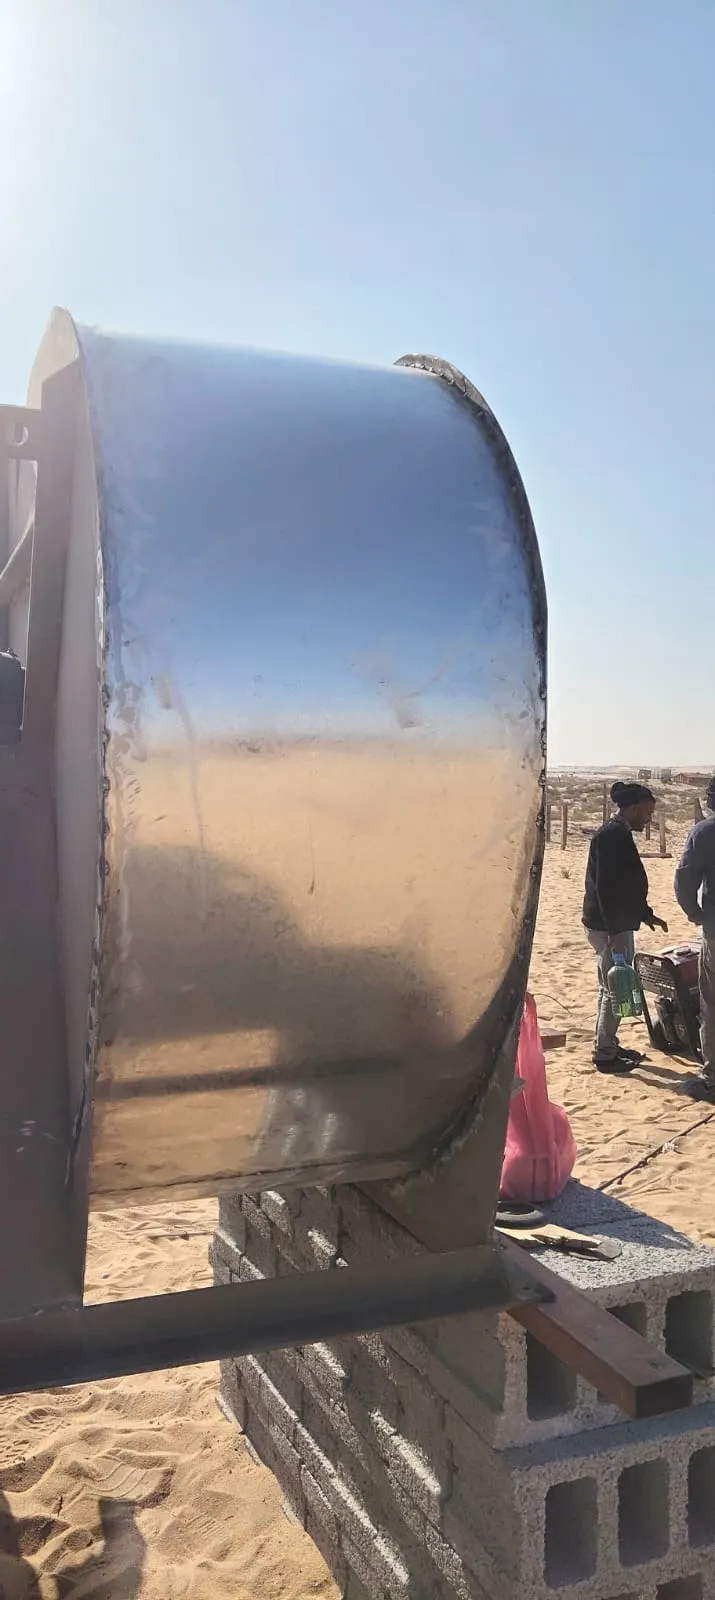
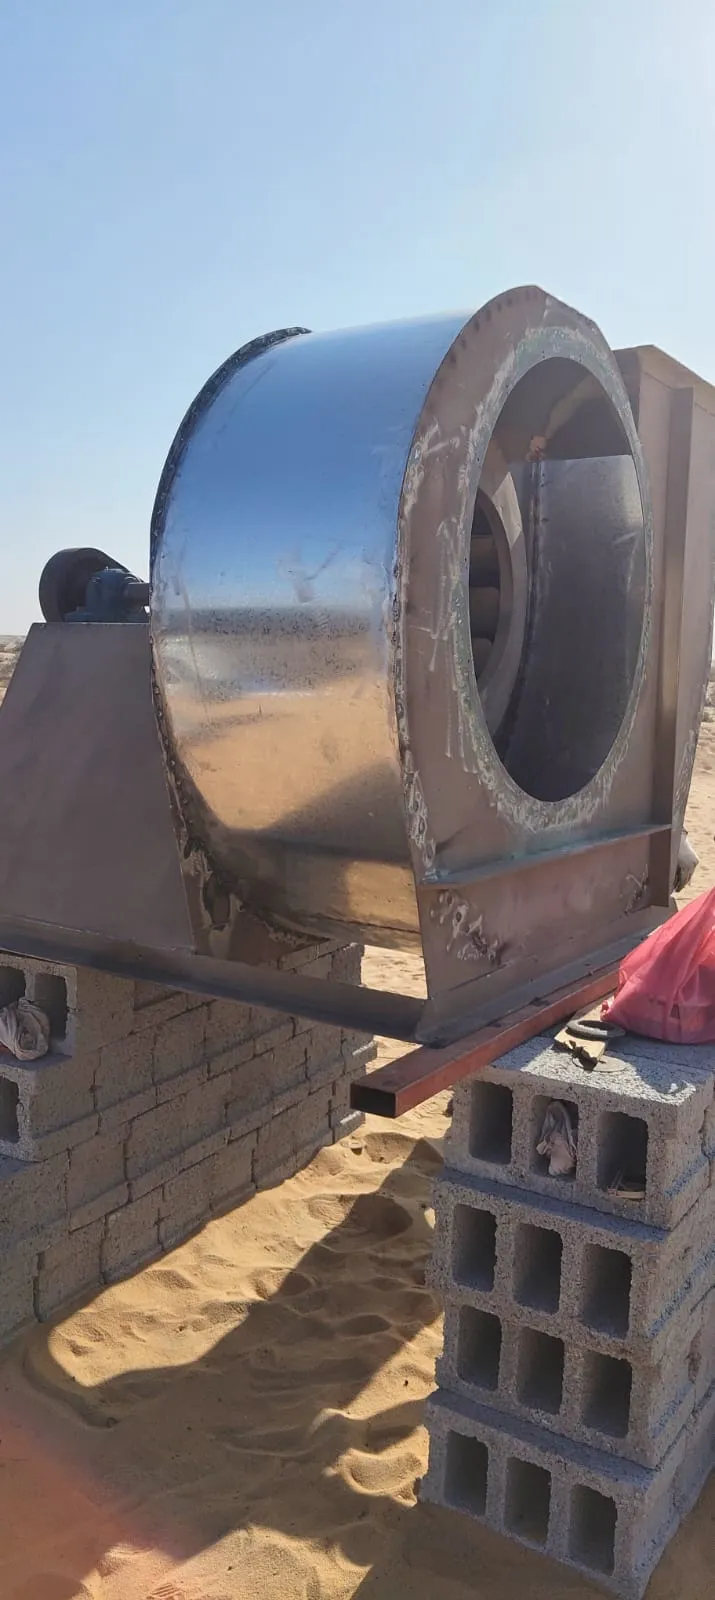
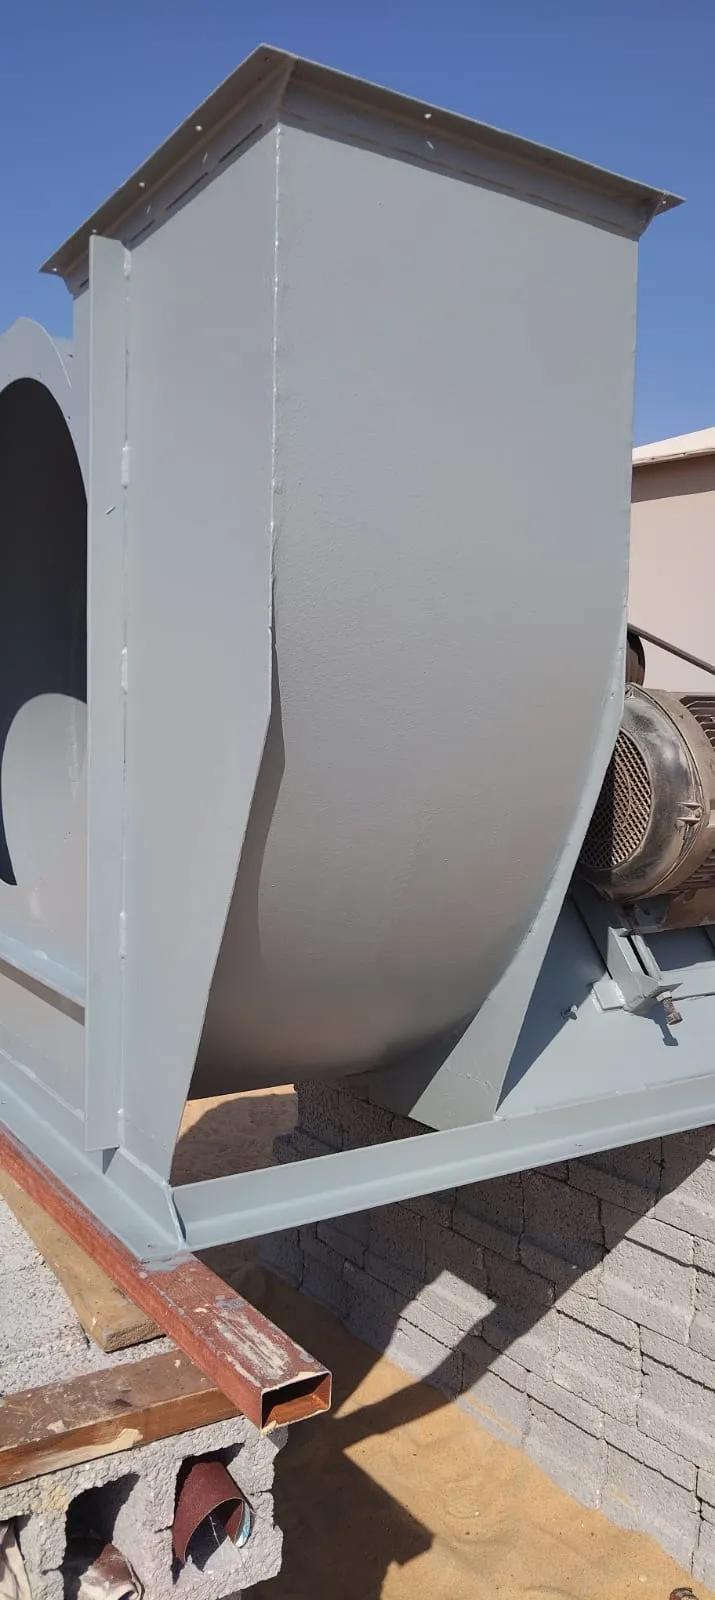
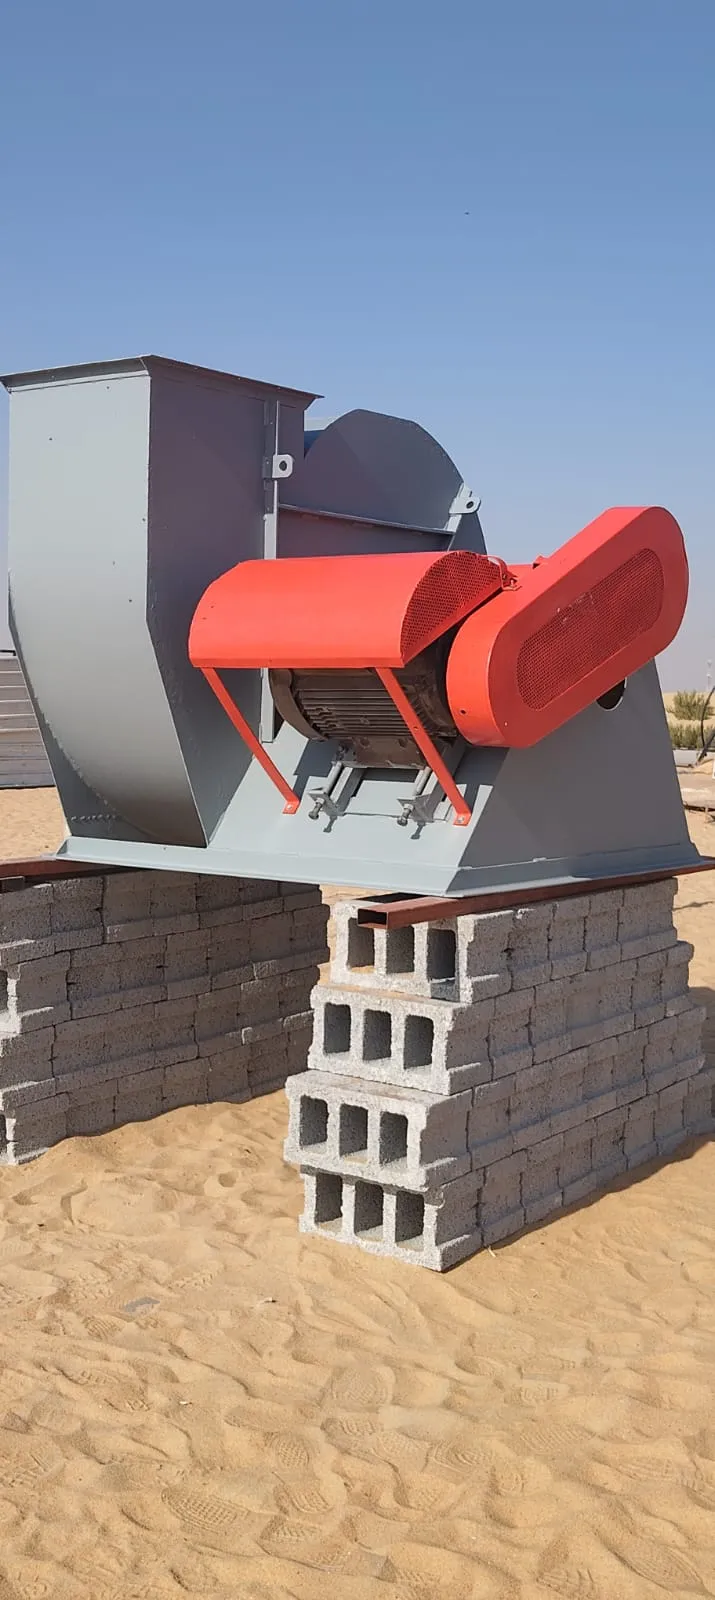
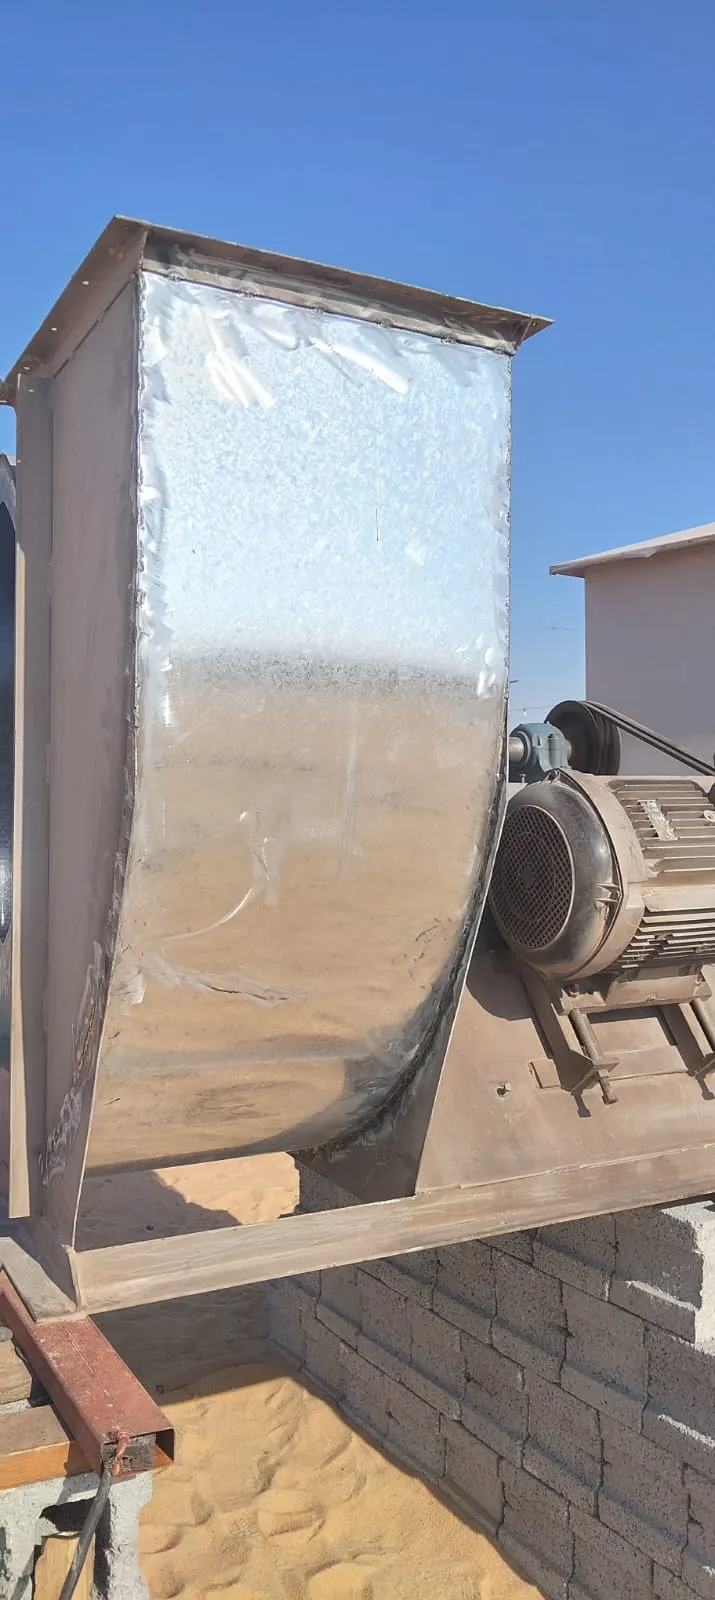
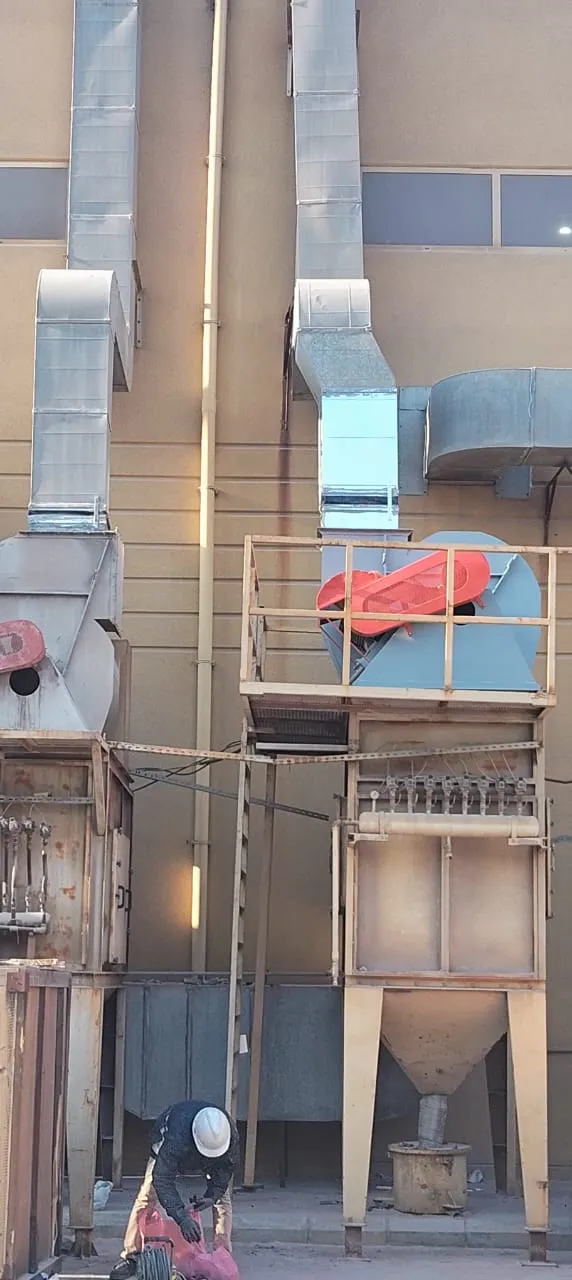
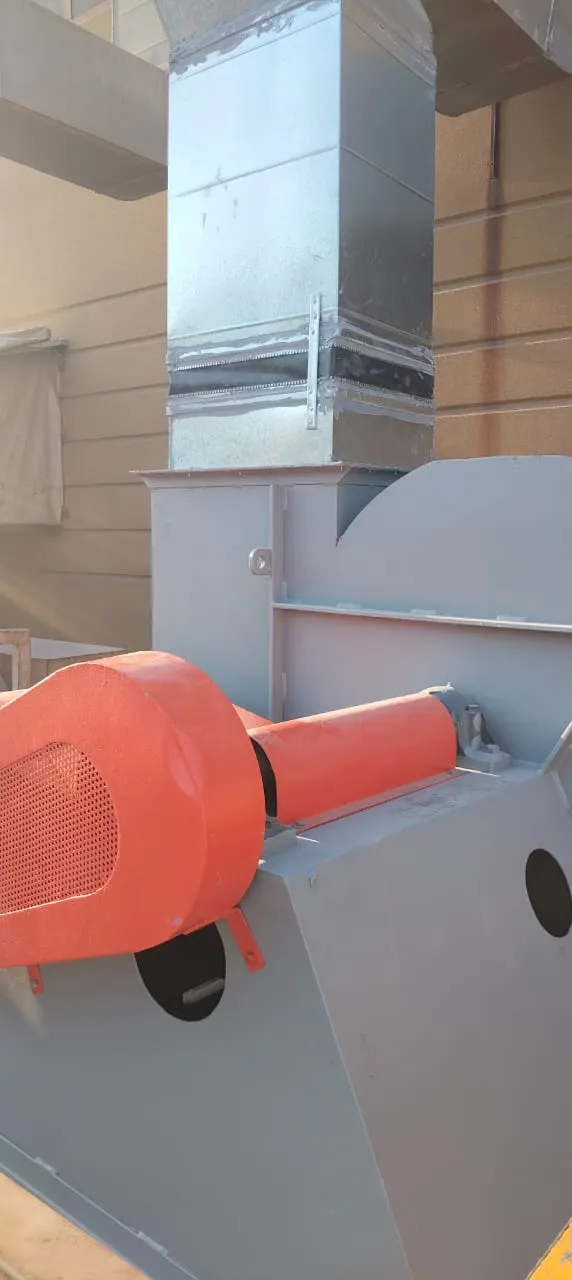
Dismantling: Dismantling the existing blast blower unit safely. |
| 2 |
Removal: Removal of damaged parts and components as required. |
| 3 |
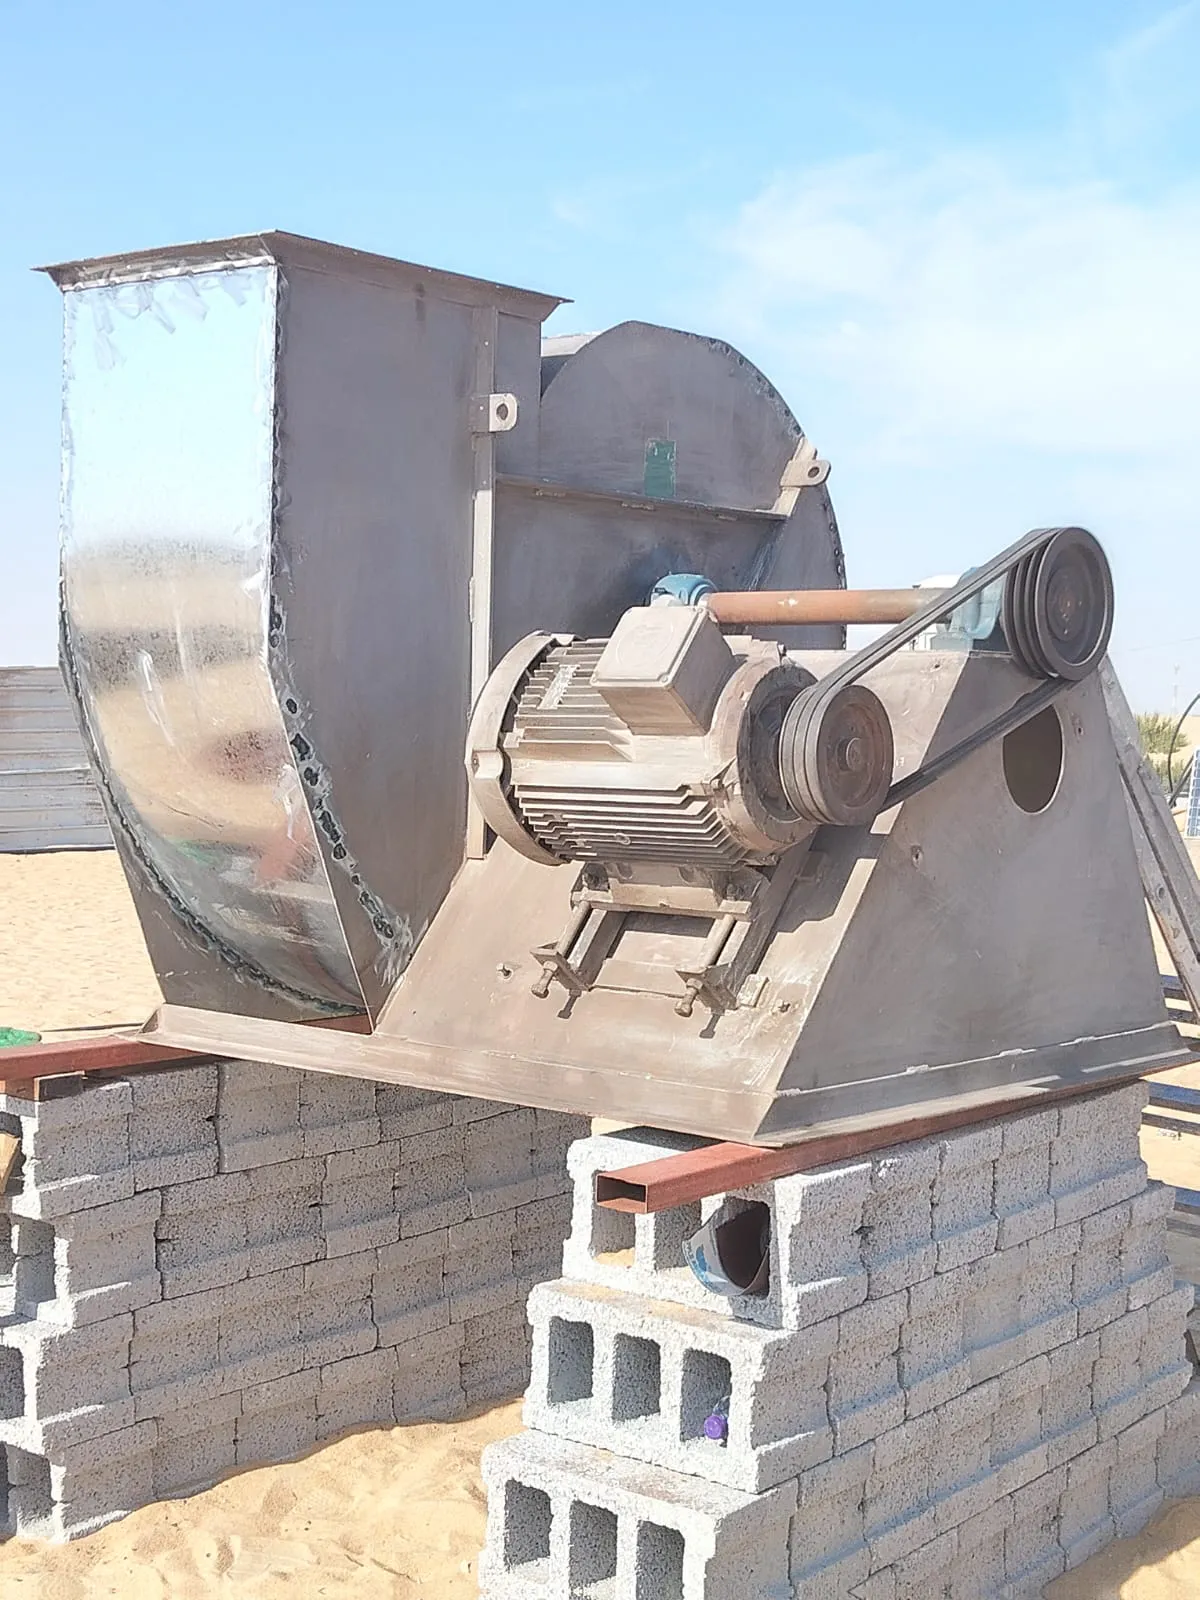
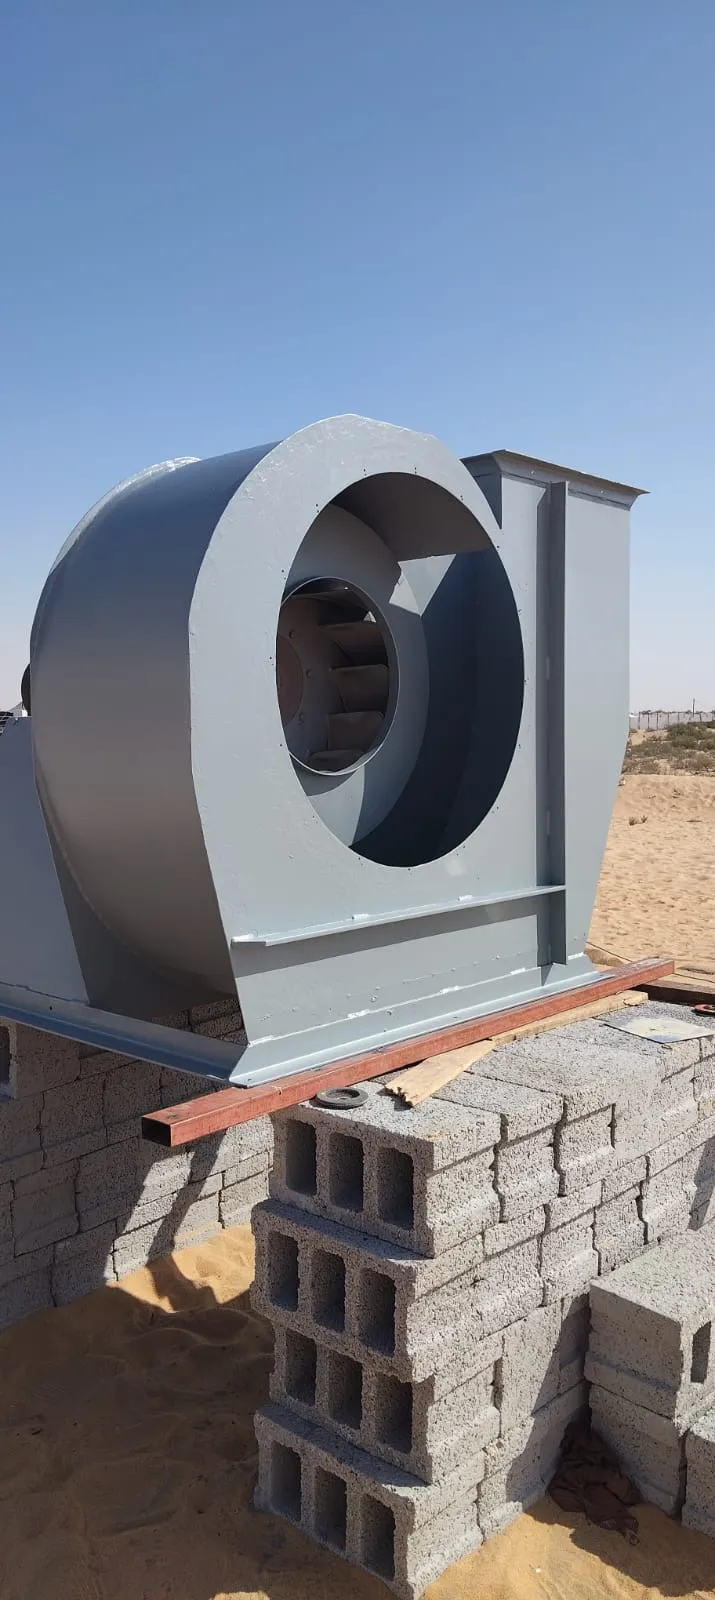
Refabrication: Refabrication of blower body/parts to restore proper shape and functionality. |
| 4 |
Gasket Replacement: Removal of damaged gasket and installation of a new gasket. |
| 5 |
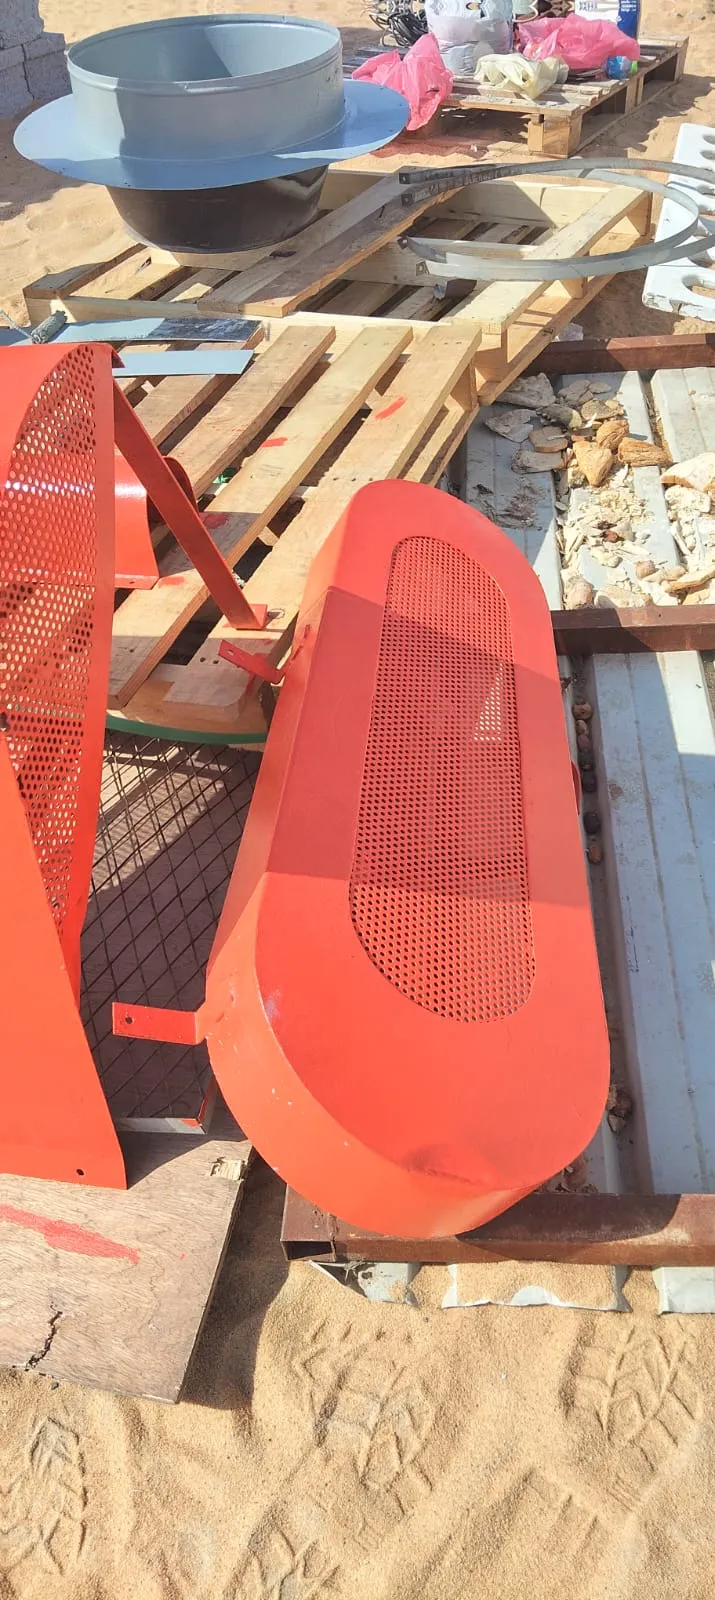
Reassembly: Reinstalling the blower after refabrication and ensuring proper alignment. |
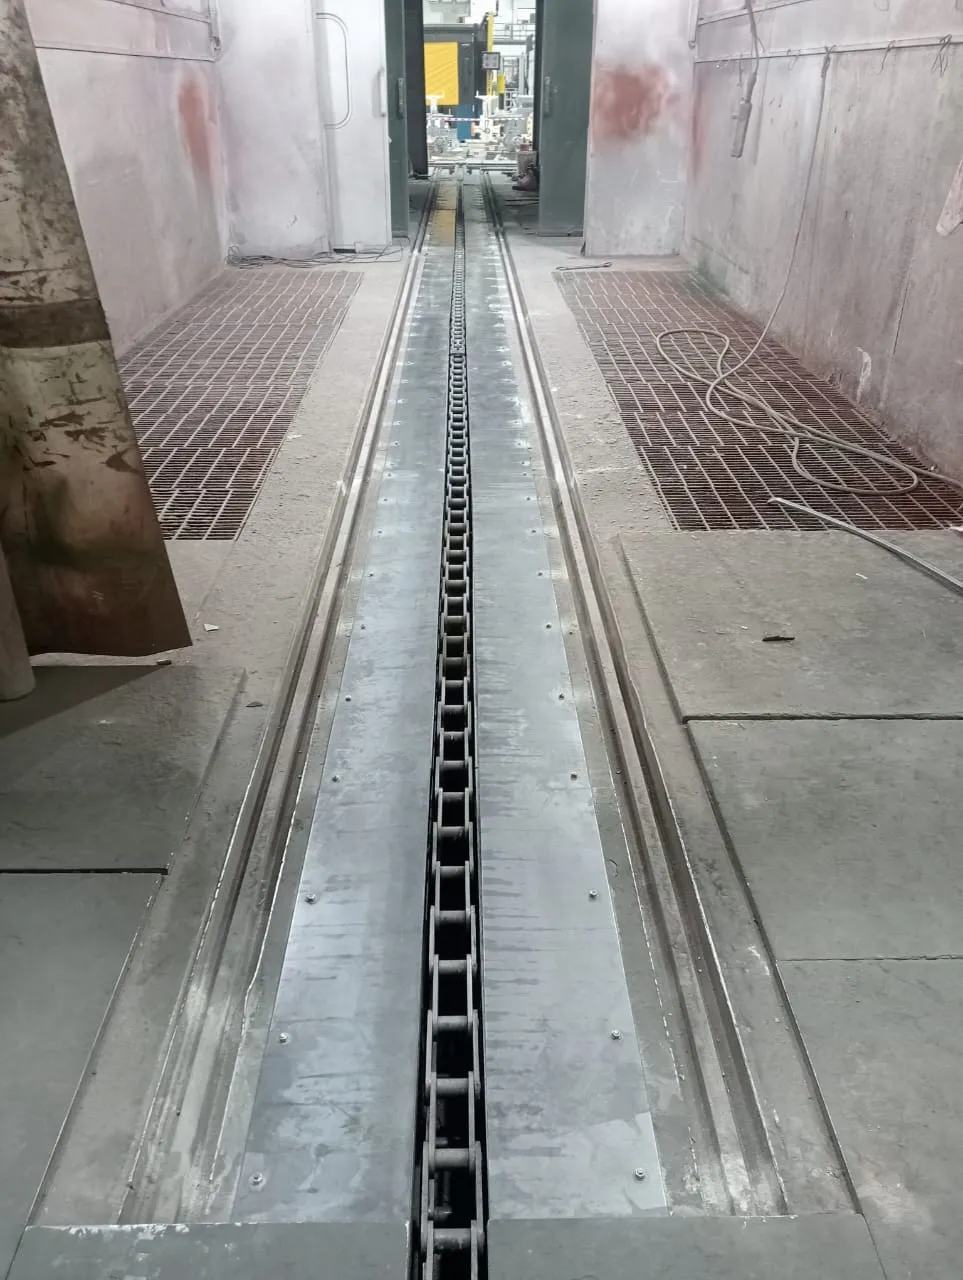
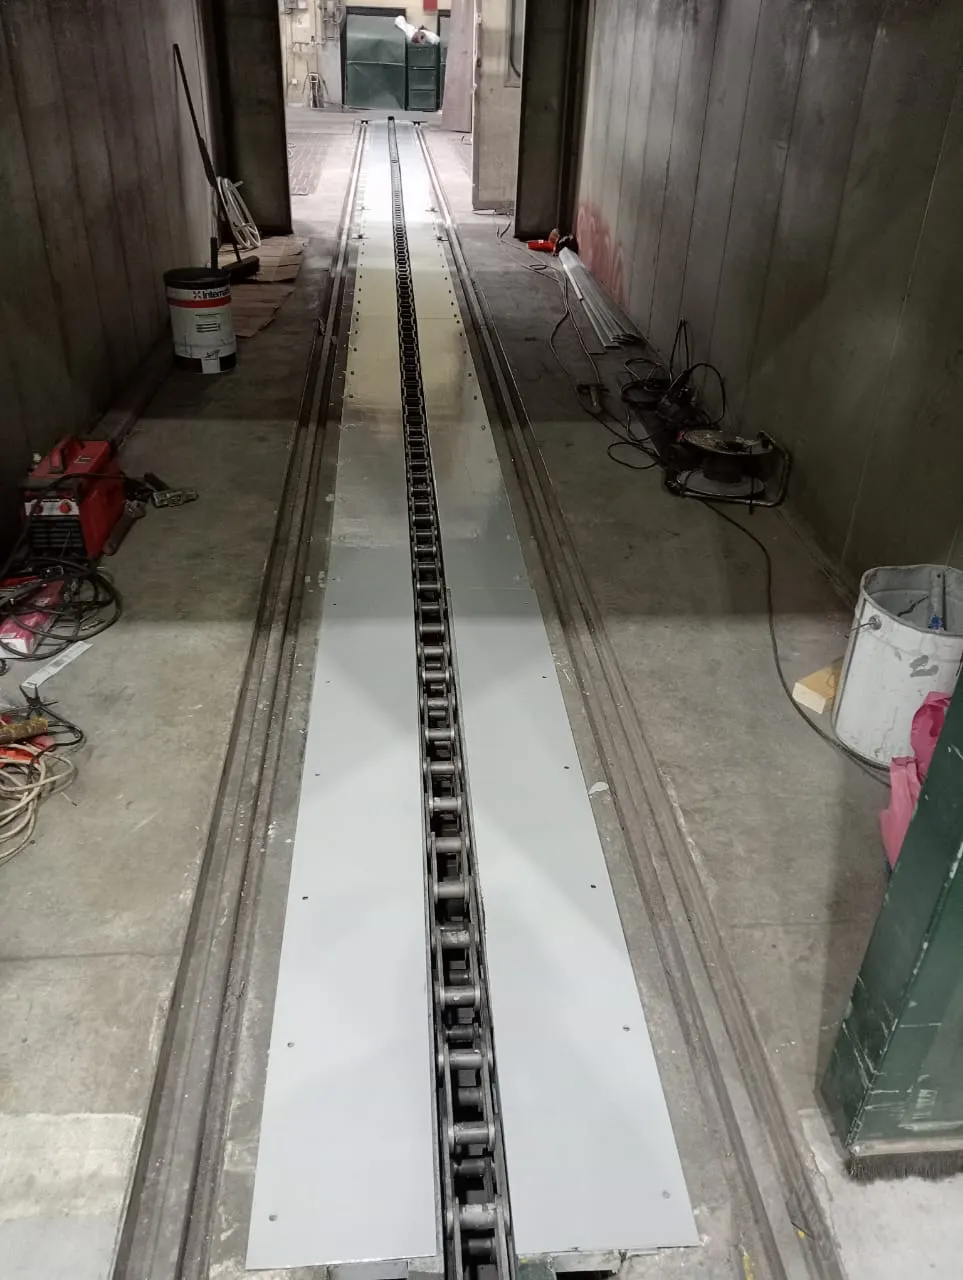
| 1 | Removal of the chain protection cover. |
| 2 | Dismantling of the current rubber sheet. |
| 3 | Removal of the chain protection beading. |
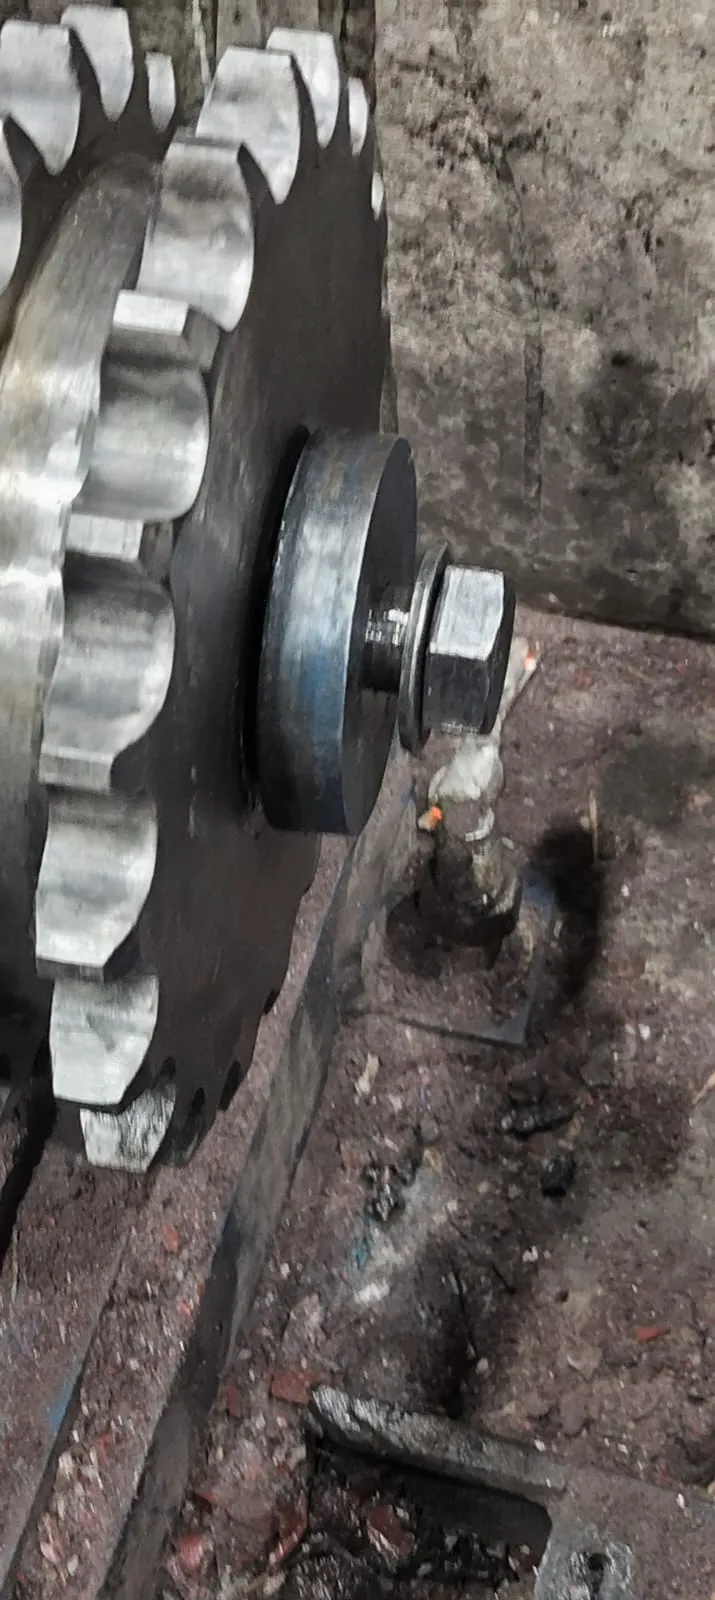
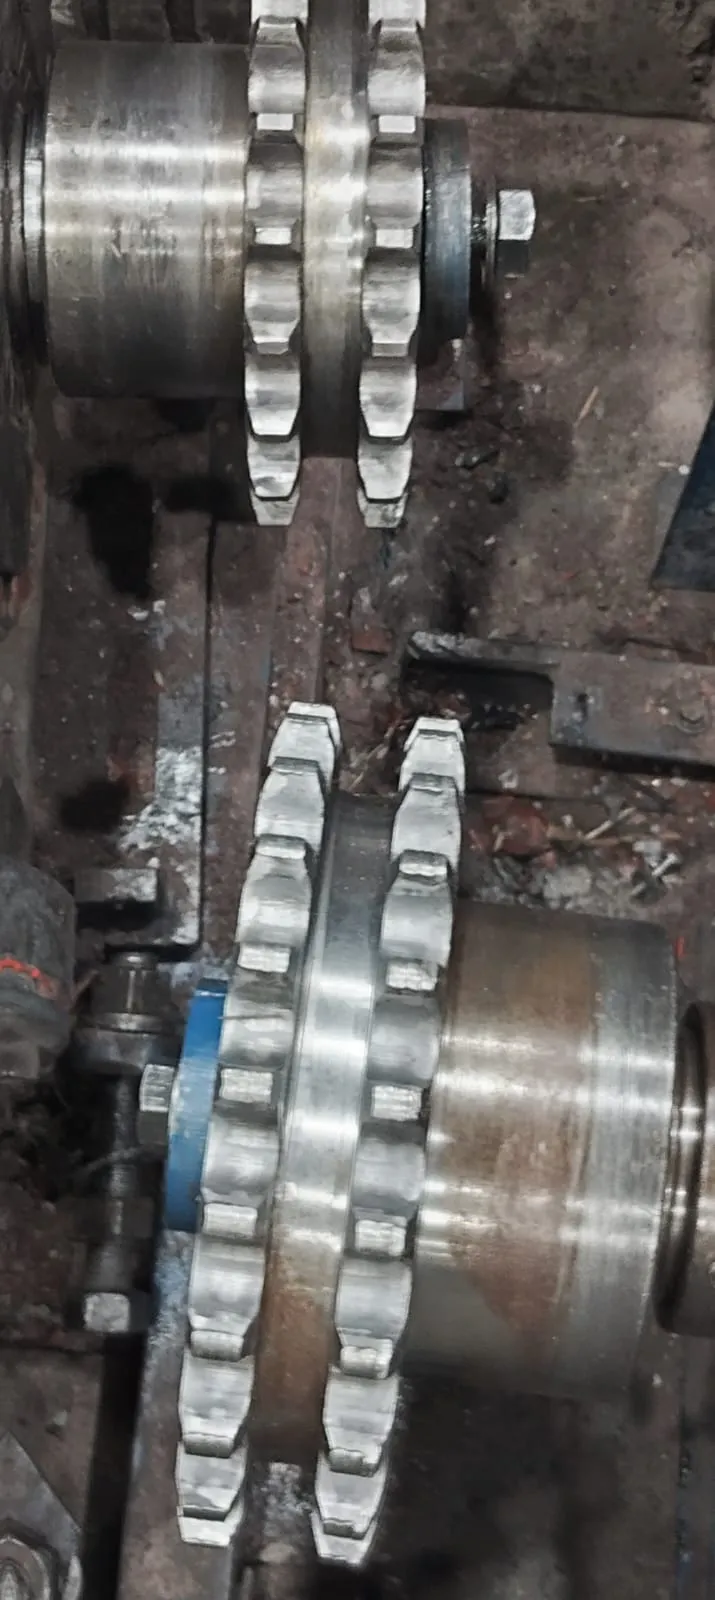
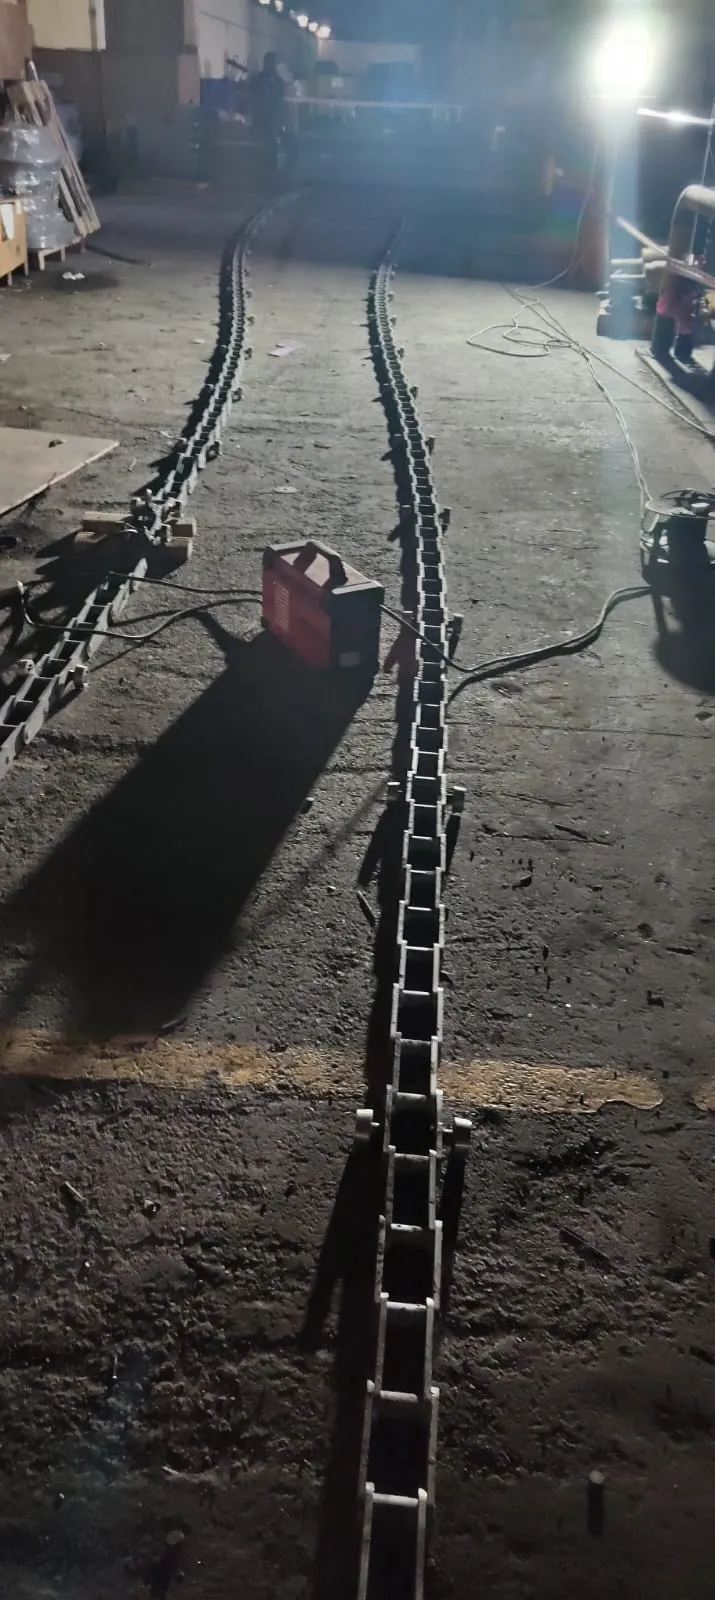
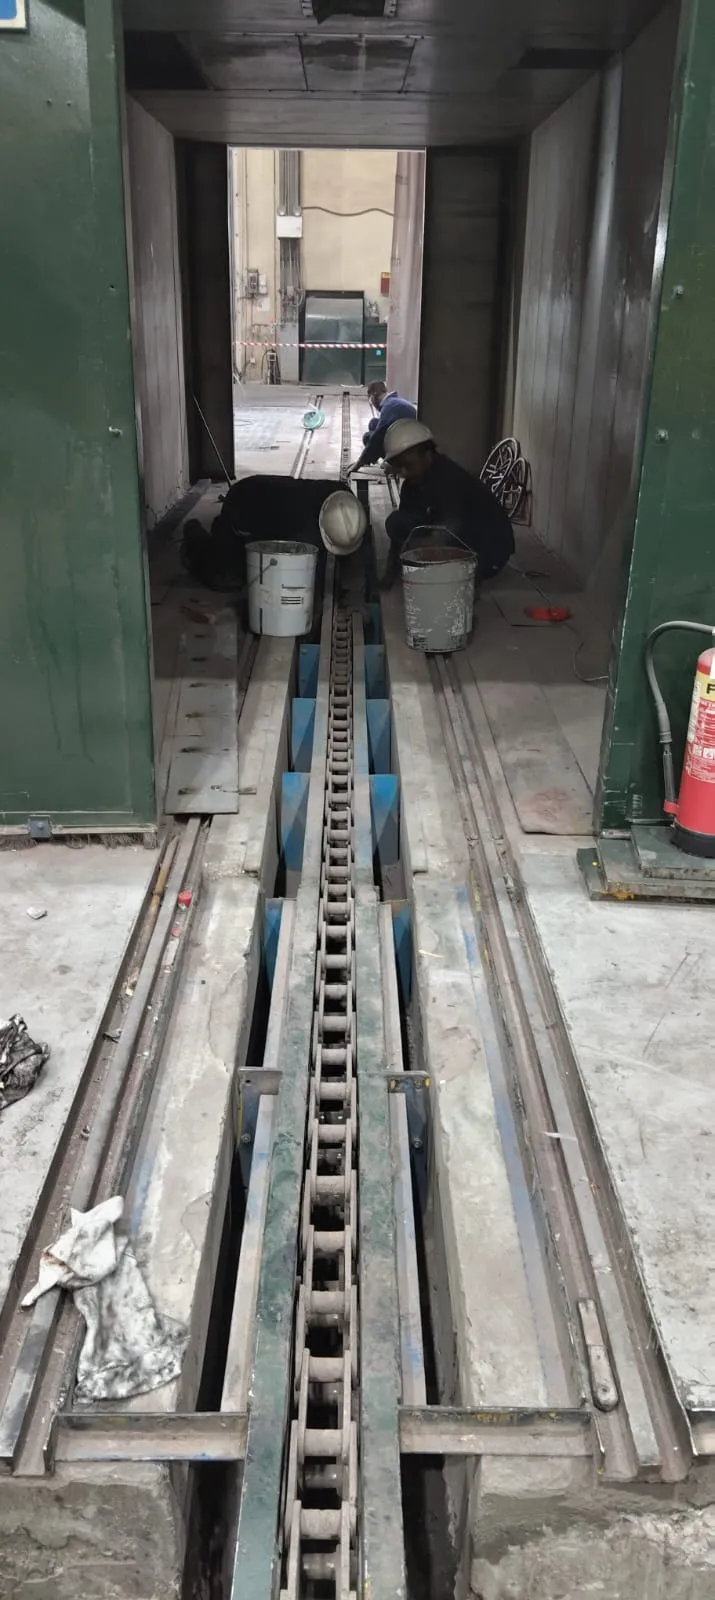
| 4 | Removal of the existing chain and cleaning the guide rails thoroughly to ensure smooth operation. |
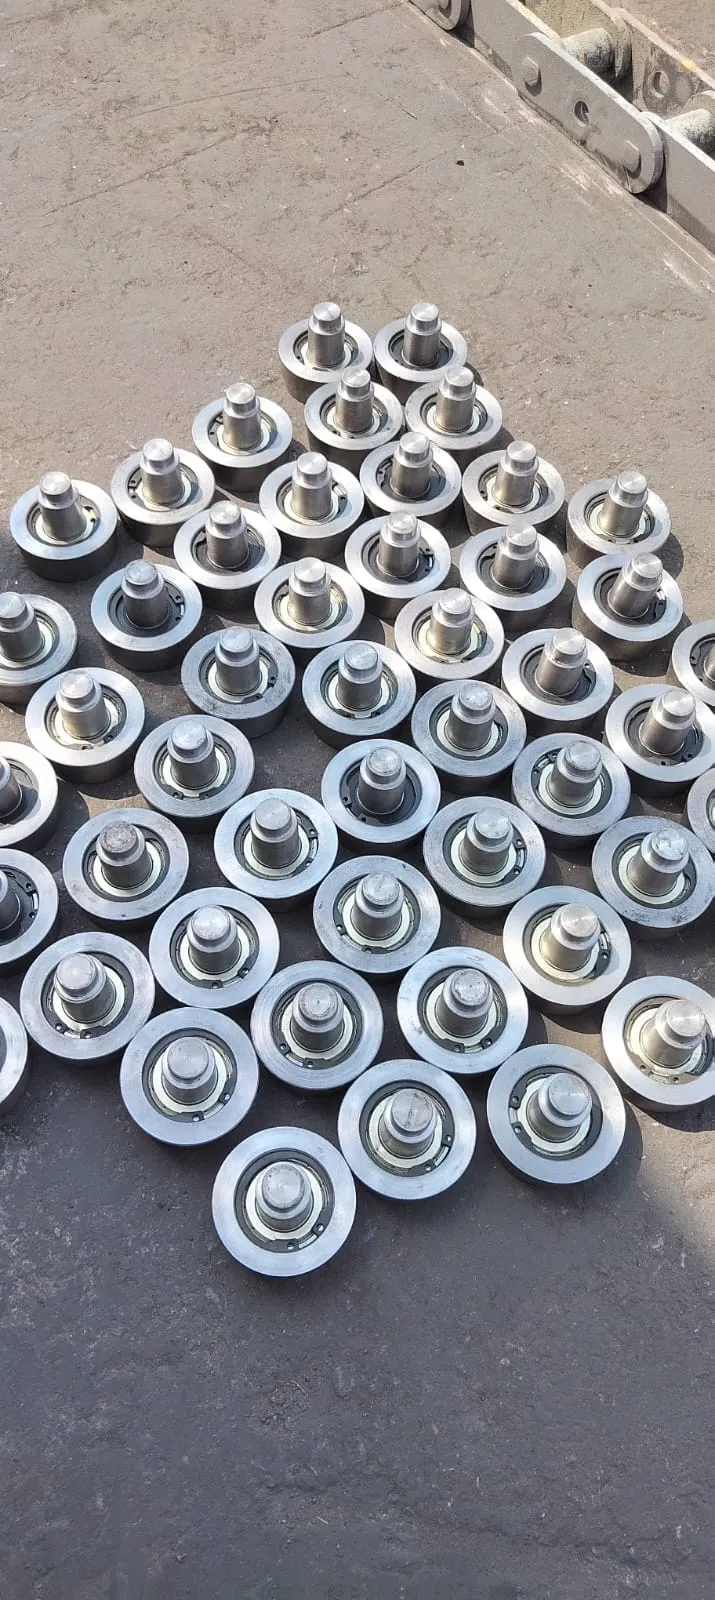
| 5 | Dismantle of all existing bearings. |
| 6 | Removal and replacement of the current shaft with the new shaft (Material: 4140). |
| 7 | Installation of new bearings (Total bearings: 94 pieces – SKF, Italy). |
| 8 | Installation of new bearing covers (Material: C45). |
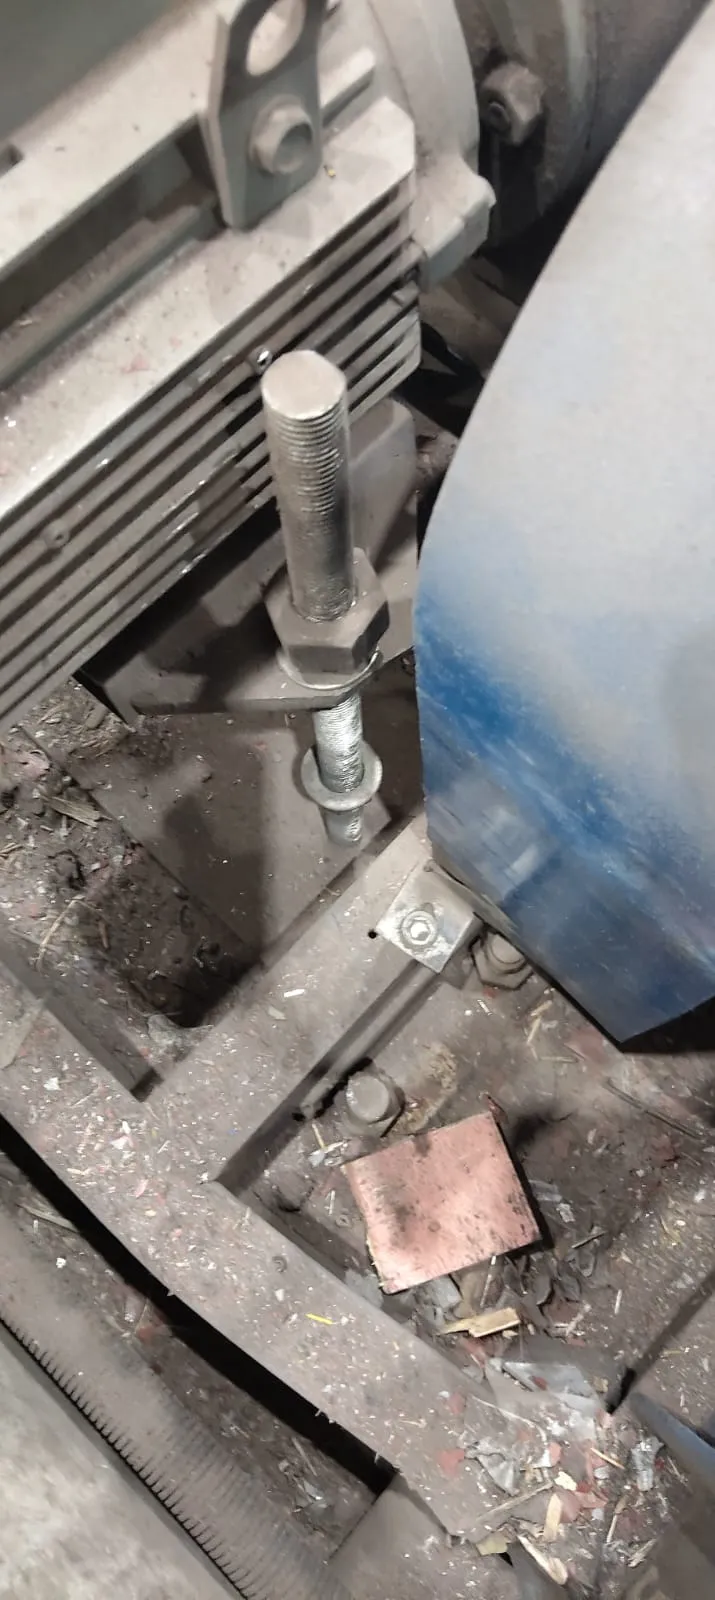
| 9 | Motor alignment and proper support adjustment to minimize vibration. |
| 10 | Installation of the chain protection cover, rubber sheet, and chain protection beading after completion of the total scope. |
| 1 |
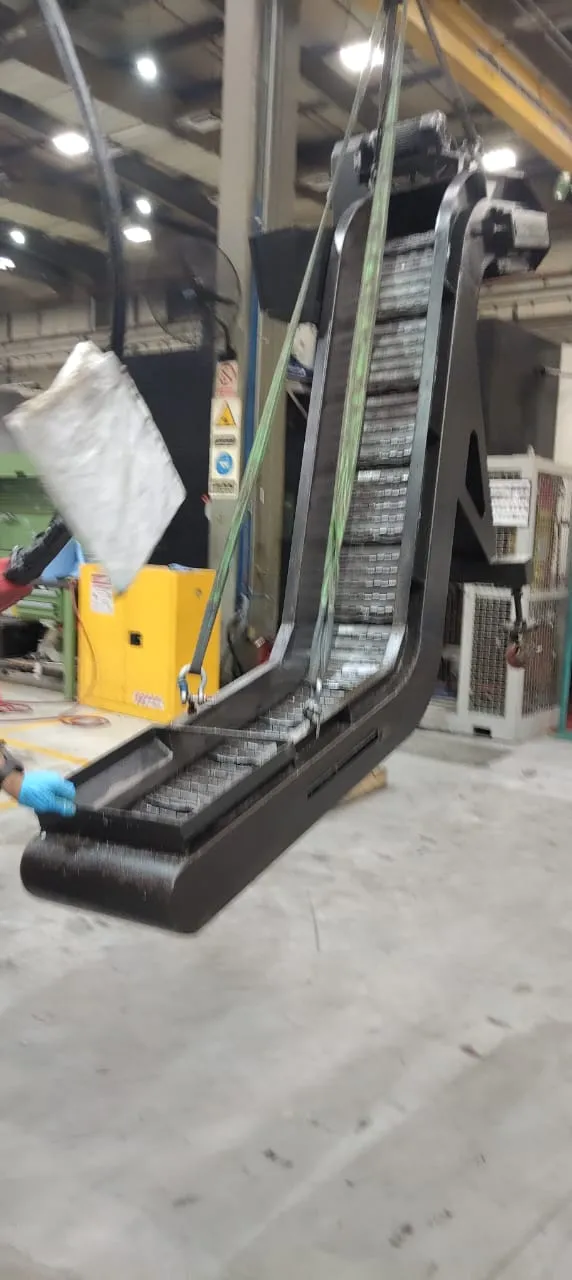
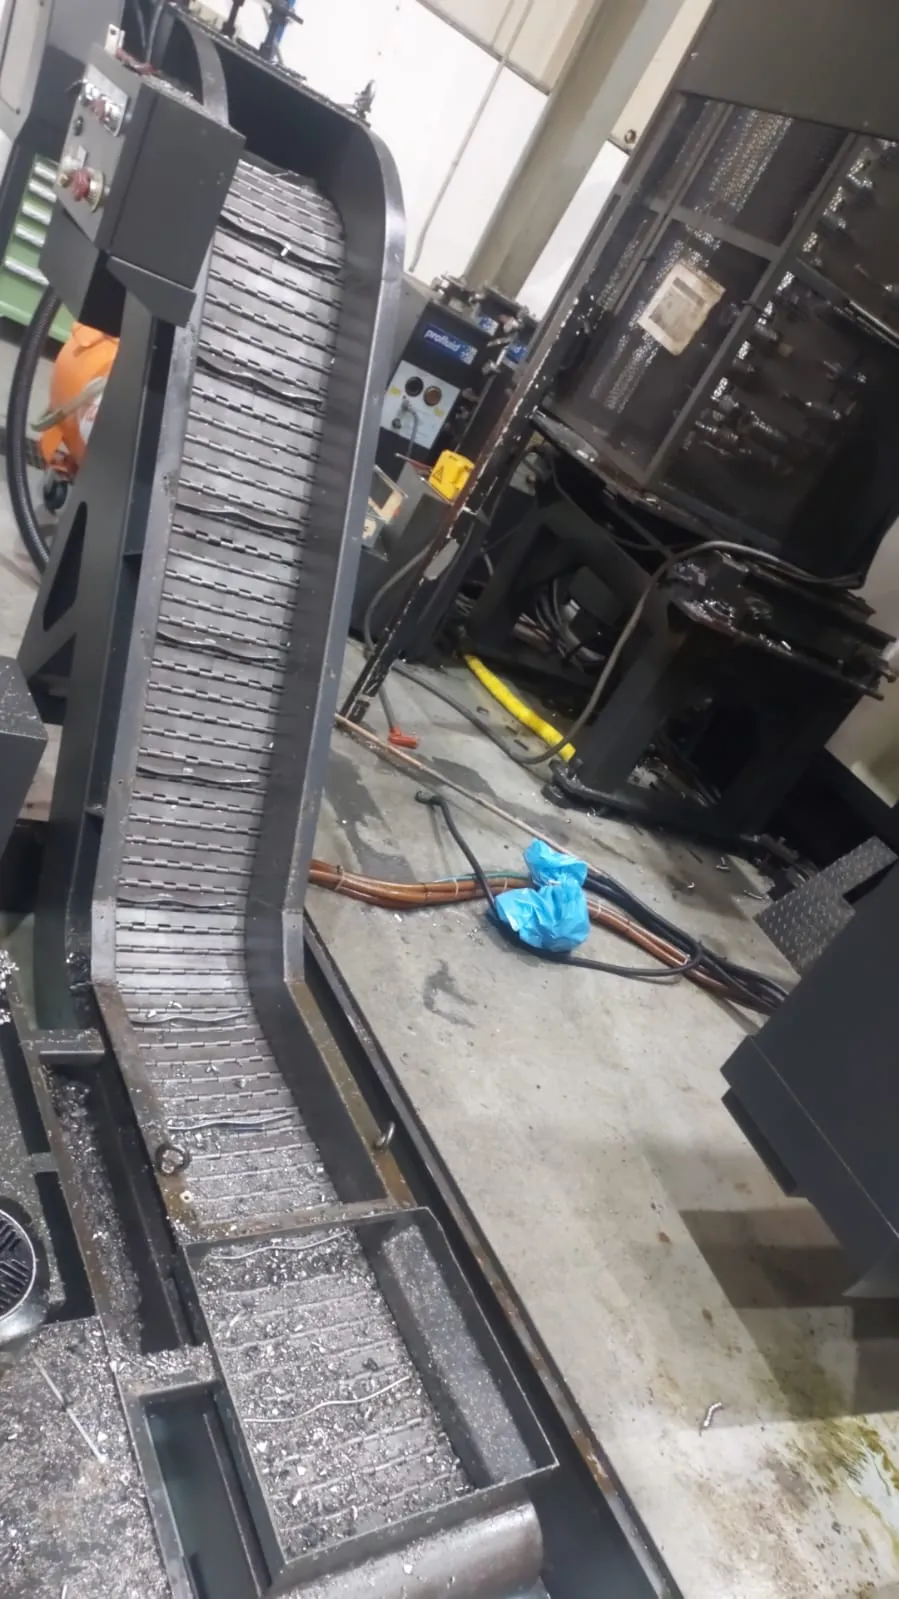
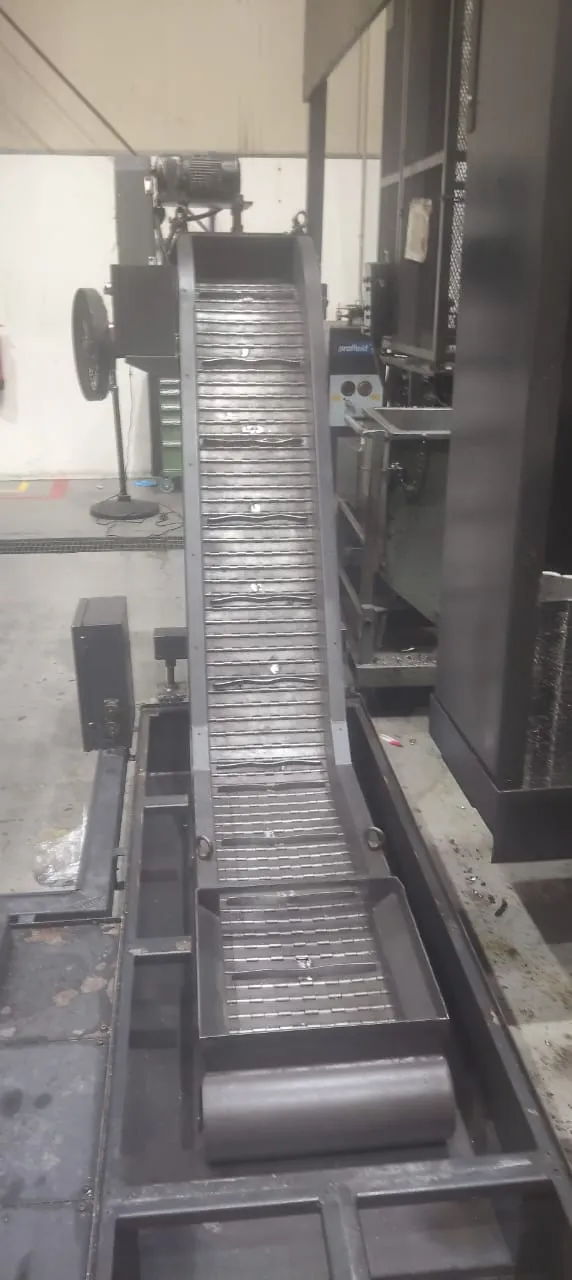
Dismantling: • Isolate power supply and ensure safe lockout/tagout. • Remove the chip conveyor assembly from the machine. • Remove motor, gearbox, guards, and conveyor belt assembly as required. • Carefully dismantle side frames and internal components. |
| 2 |
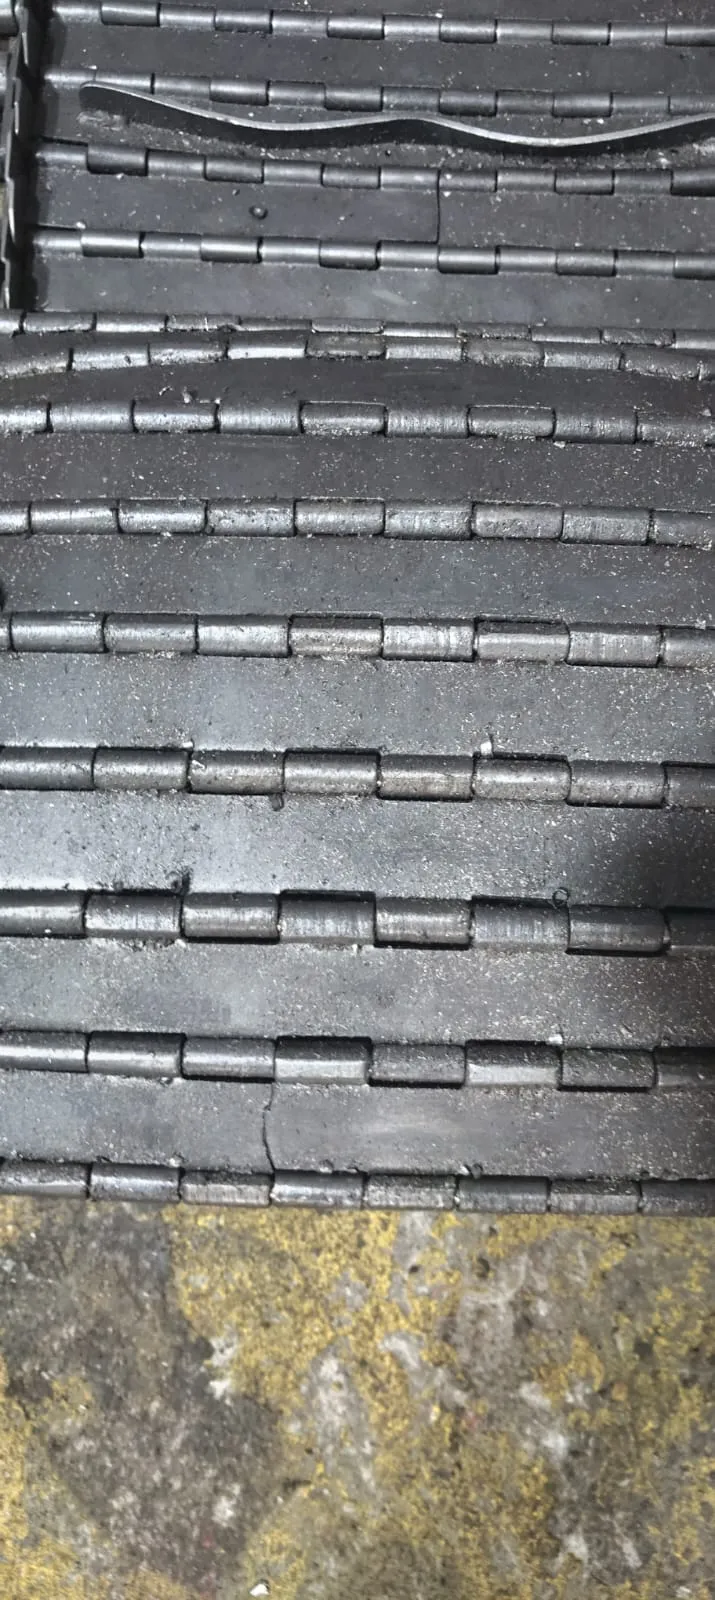
Inspection: • Inspect all components including: • Stainless steel tank (hinge pins). • Conveyor belt links/plates. • Chain and sprockets. • Bearings and shafts. • Motor and gearbox condition. • Identify worn, bent, or damaged parts. |
| 3 |
Removal of Damaged Parts: • Remove all damaged stainless steel hook (hinge pins). • Remove and dispose of worn parts found during inspection. • Clean and prepare parts for replacement. |
| 4 |
Replacement Works: • Supply and install new stainless steel hooks of required size and grade. • Replace damaged parts such as: • Chain links / belt plates. • Bearings. • Shafts. • Sprockets. • Ensure proper alignment and fitment. |
| 5 |
Reassembly: • Reassemble the conveyor structure and belt system. • Install motor, gearbox, and guards. • Ensure proper tensioning of chain/belt. • Tighten all fasteners and check alignment. |
| 6 |
Testing & Commissioning: • Run the conveyor and check: • Smooth operation. • Noise and vibration. • Proper chip movement. • Rectify any issues observed during testing. |

| 1 |
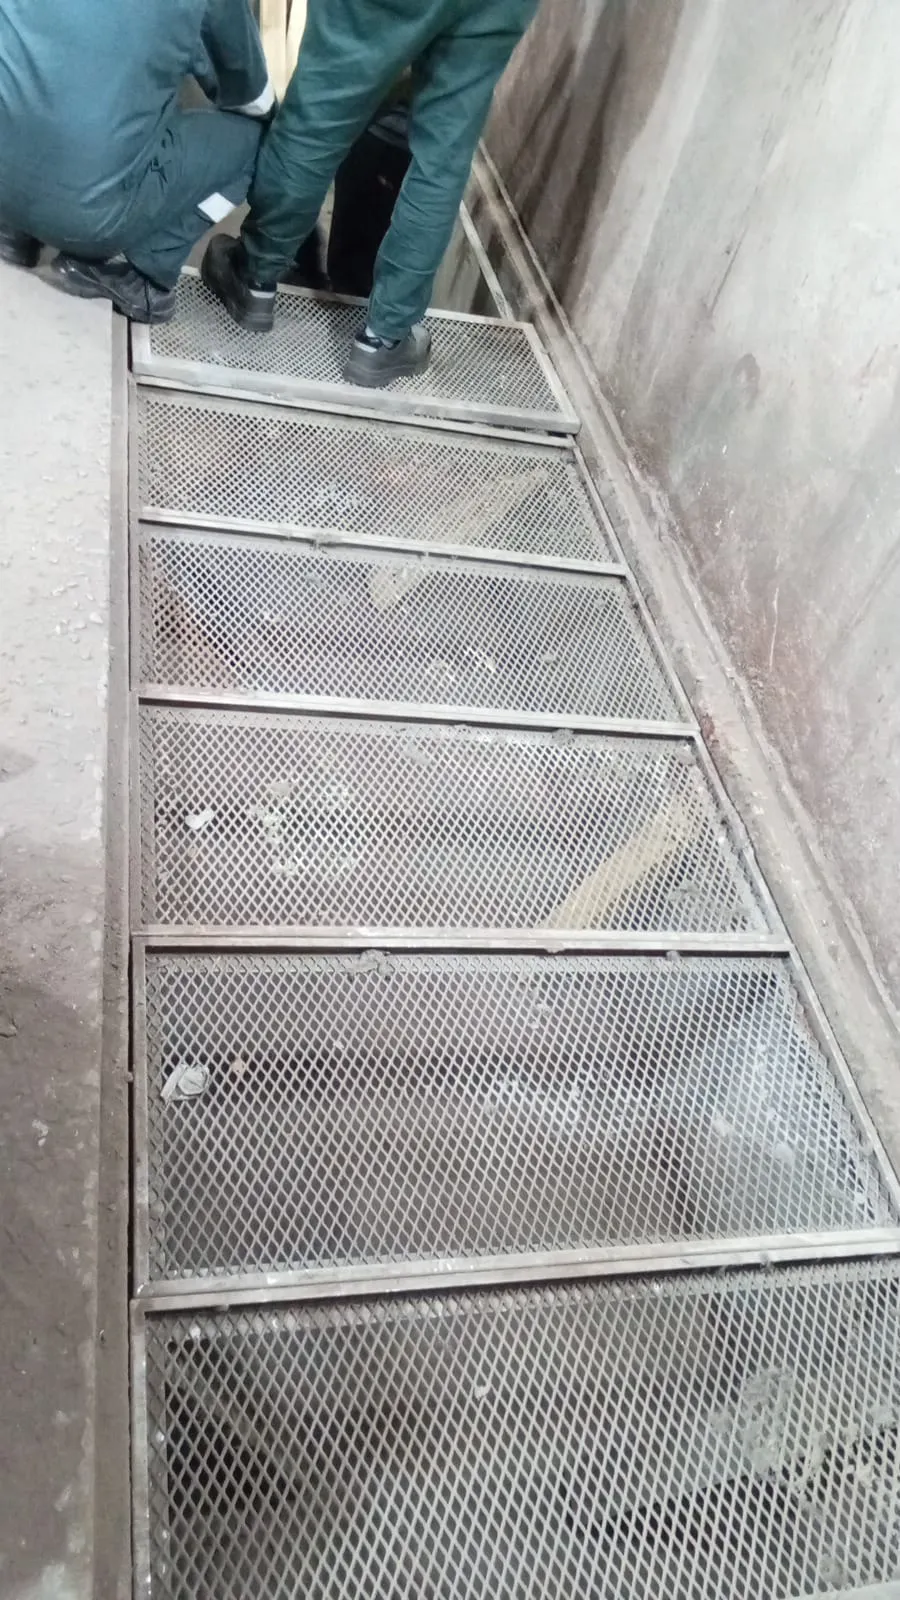
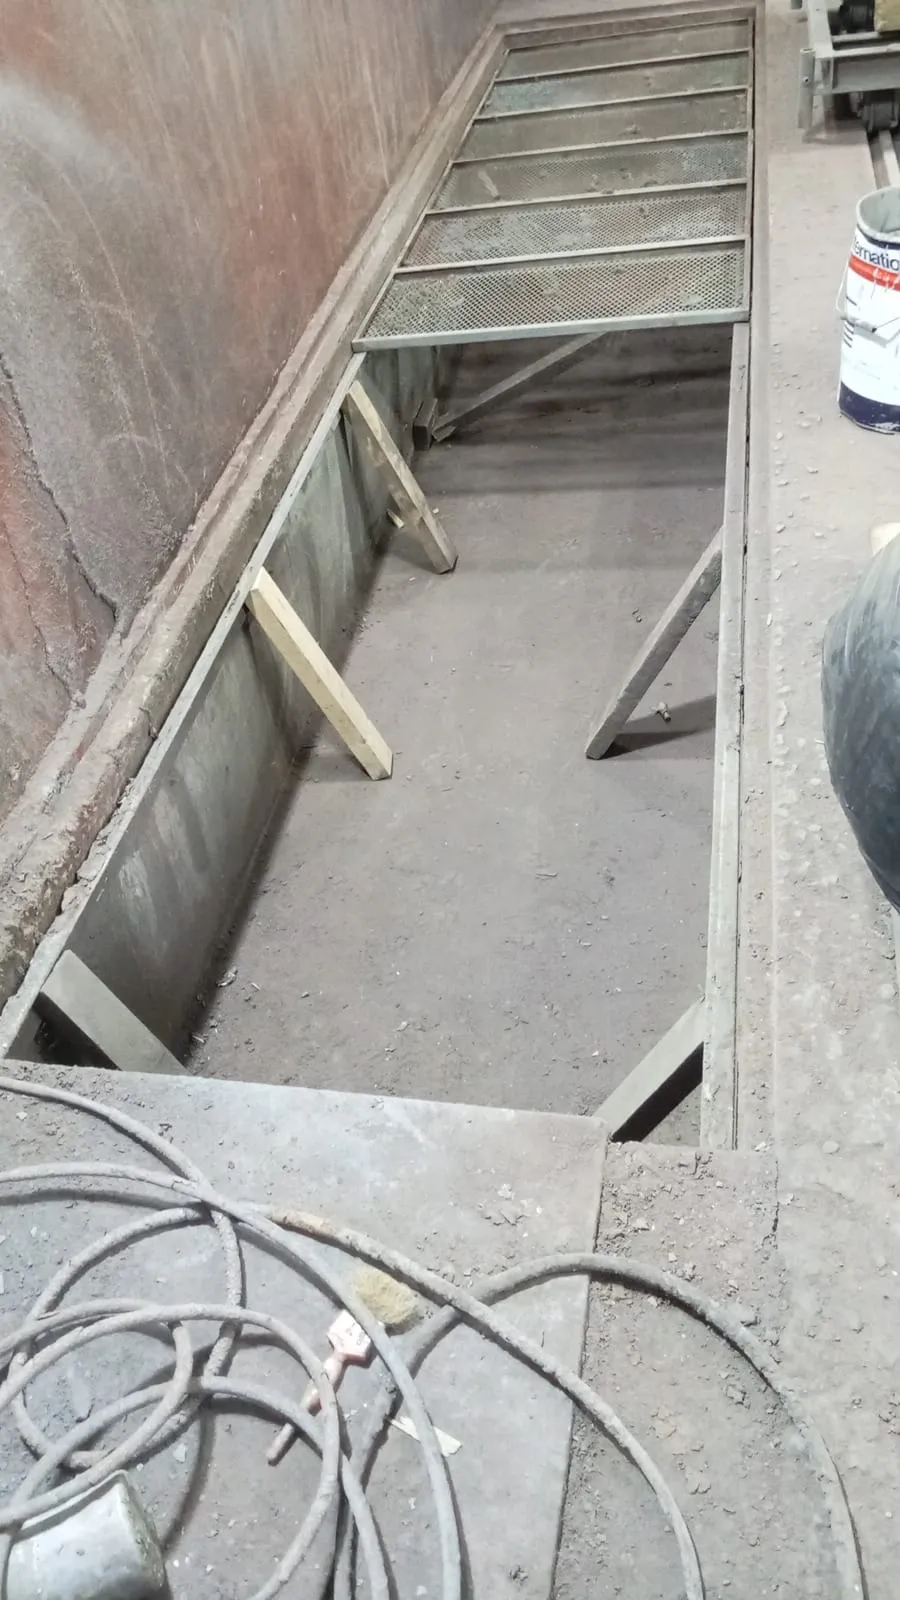
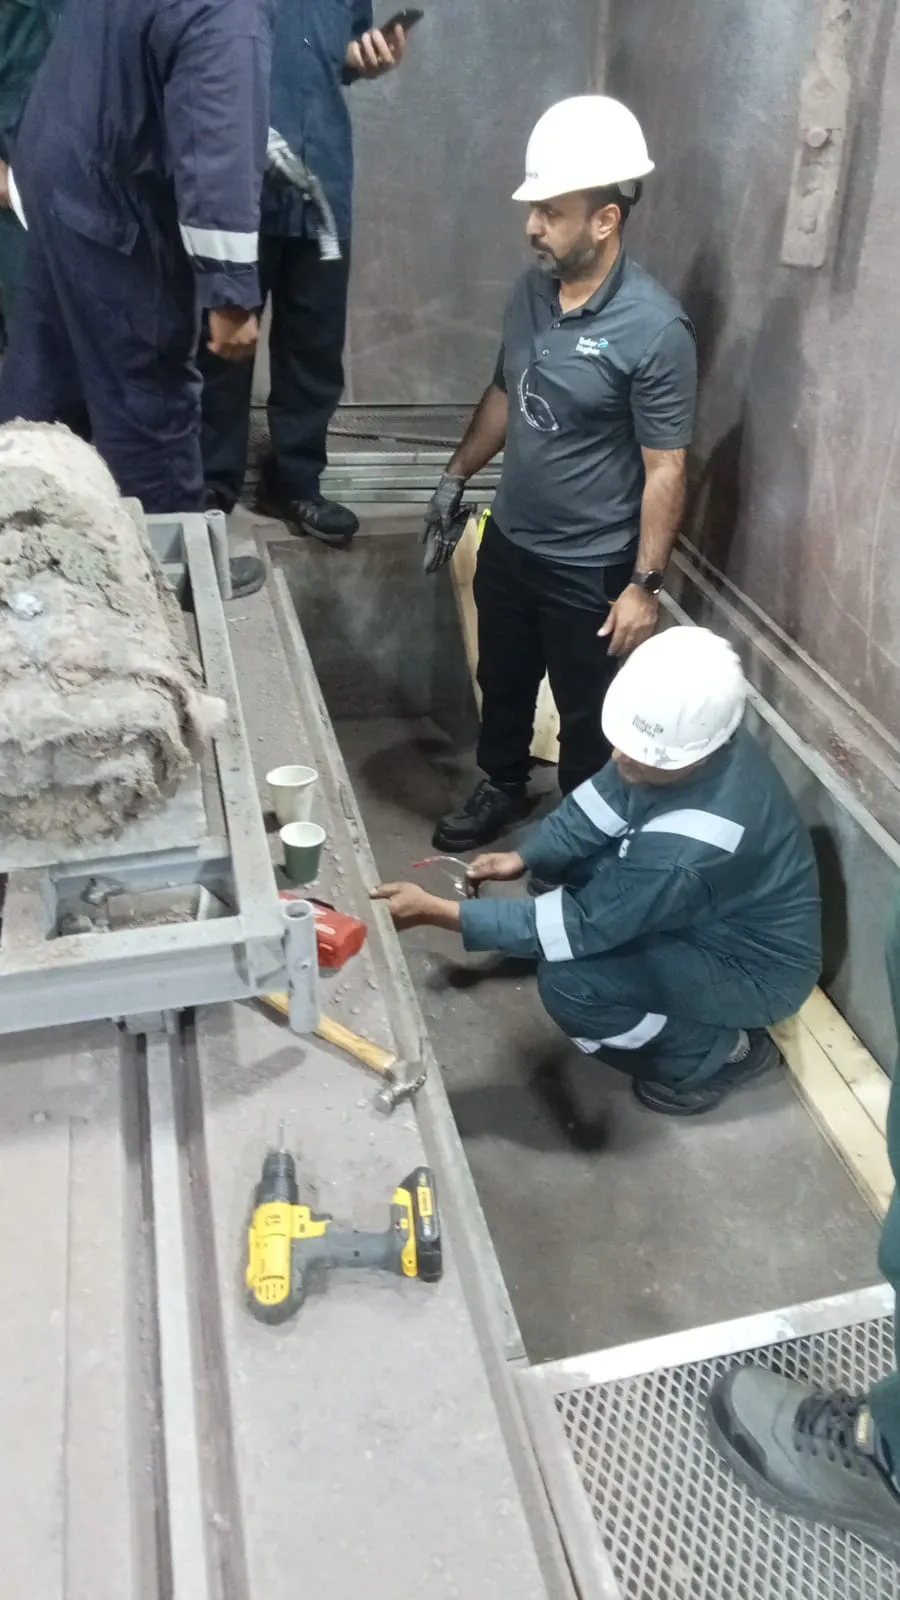
Dismantling & Removal: Disassemble and remove the existing mesh exhaust trench support, which is made from 3mm L-section sheet. The removed material will be disposed of responsibly. |
| 2 |
Fabrication & Supply: Fabricate and supply new L-angle supports, sized 50mm × 50mm × 5mm, for the exhaust mesh. All new materials will be prepared for installation. |
| 3 |
Installation: Install the newly fabricated L-angle supports within the specified painting booths (1 and 2). This includes ensuring proper alignment, secure fastening, and all necessary adjustments to provide a stable foundation for the exhaust mesh. |
| 4 |
Material: L-angle MS (50mm × 50mm × 5mm) Total Length: 48 meters (24m for Booth 1, 24m for Booth 2) Mesh: Existing mesh to be reused if in good condition. |
Al Jalawiyah Dist Ad
Dammam 4531
Saudi Arabia
Submit your requirements and our technical team will get back to you with a detailed proposal.